
Creating an Invoice
You can create an invoice, either as a draft or sent out immediately.
Invoices can be paid by way of a single payment on the due date, or by way of multiple installments with customizable amounts and due dates.
Before you start, ensure you have first added any required services and packages.
You can start this process any of the following three ways:
-
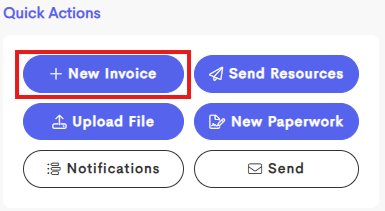
From the Quick Actions area of a Client Journey's Overview tab, using the New Invoice button.
-
From a Journey's Invoices tab, using the + Invoice button.

-
From your Billing > Invoices page, using the + New Invoice button.


- Select from an invoice template, or create a new blank invoice.

-
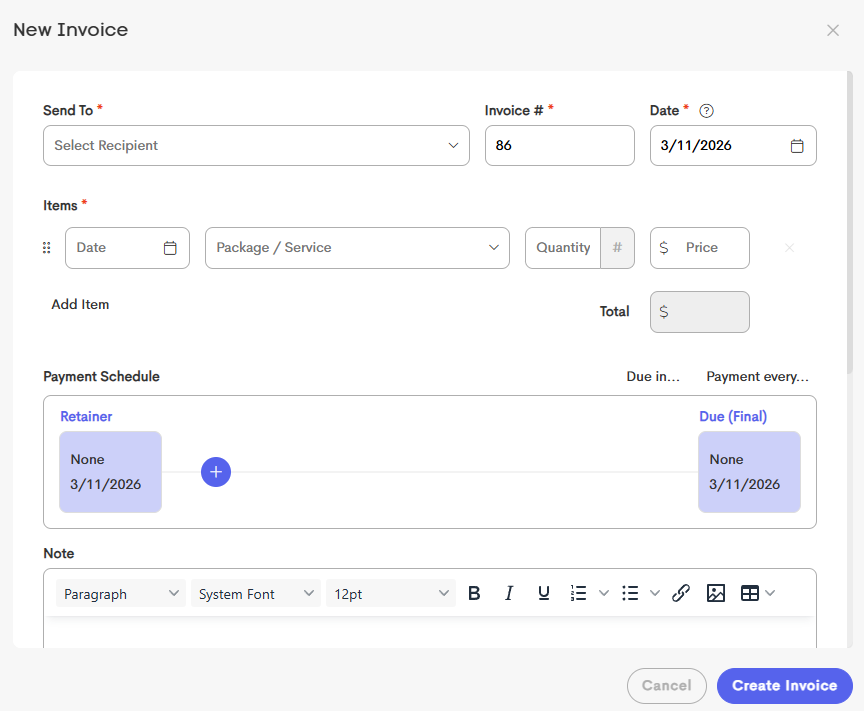
In the New Invoice page that appears, fill the required fields and any additional fields as needed.
-
Items
Select the date, package/service, quantity and price that should be used for the invoice's service item. Add any additional items as needed.
-
Payment Schedule
You can add an optional deposit installment, and one or more additional installments at the required intervals.
-

See Invoice Installments for more information.
-
Invoice Note
Add an optional note which will be visible on the invoice. You can select from a previously created note template to more easily add recurring notes.
See Invoice Note for more information.
-
Send
Choose one of the following sending options, to occur upon creation of the invoice:
- Keep as a draft
-
Send to Recipient (available if you have selected a recipient in the Send To field.
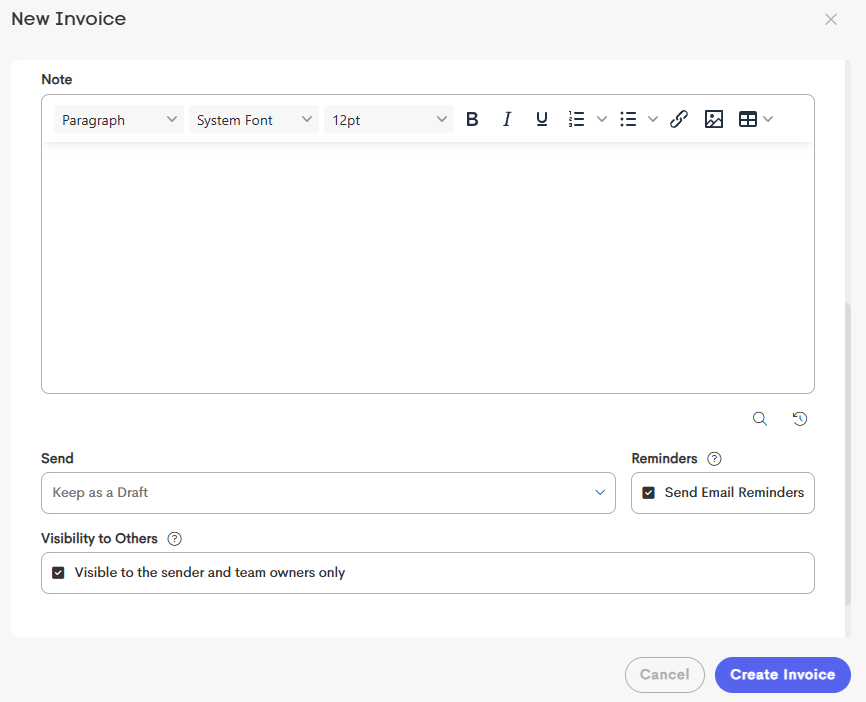

- Click on the Create Invoice button to finalize the invoice.
-
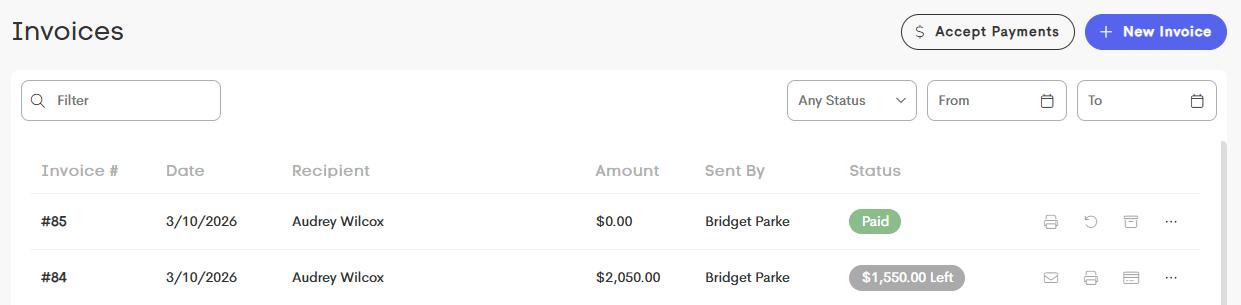
The invoice can now be seen in your Billing > Invoices page.

If you leave an invoice as a draft, you can come back to send when you are ready and the client will not be alerted until it is sent.
Regardless of whether or not the reminders are on, the client (or contact) will receive an email notification that the invoice has been created if you choose to send.