Invoice Installments
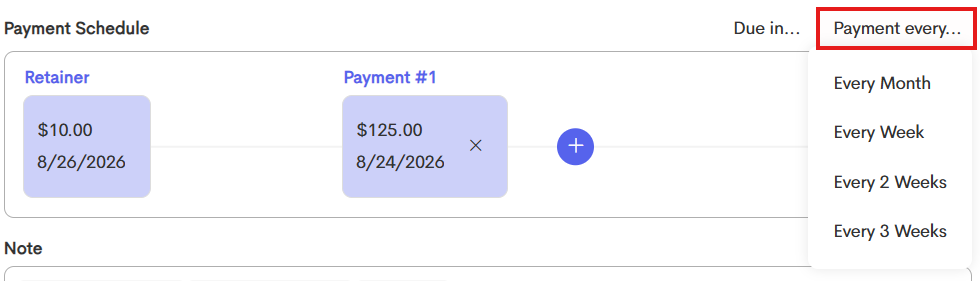
There are some presets that include breakdowns of every week, every month, every 2 weeks, and every 3 weeks or you can add them as you wish!

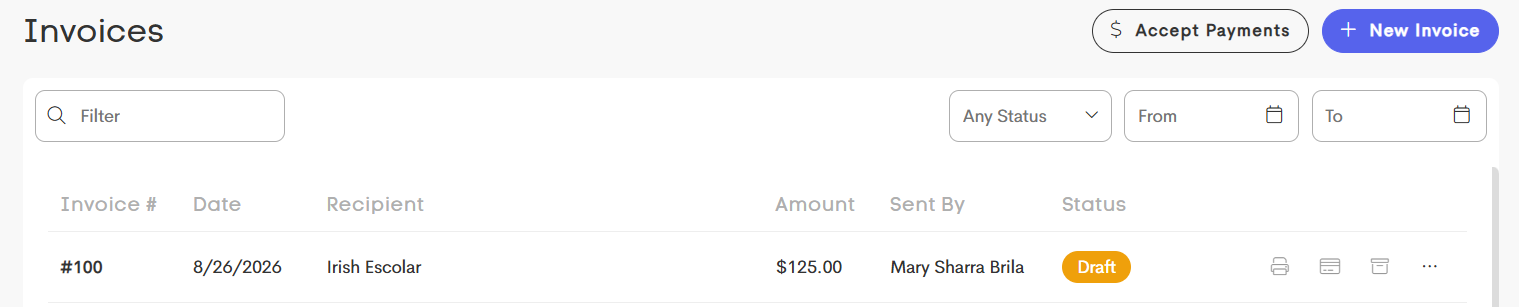
- Go to the main Billing tab > Invoices.
-
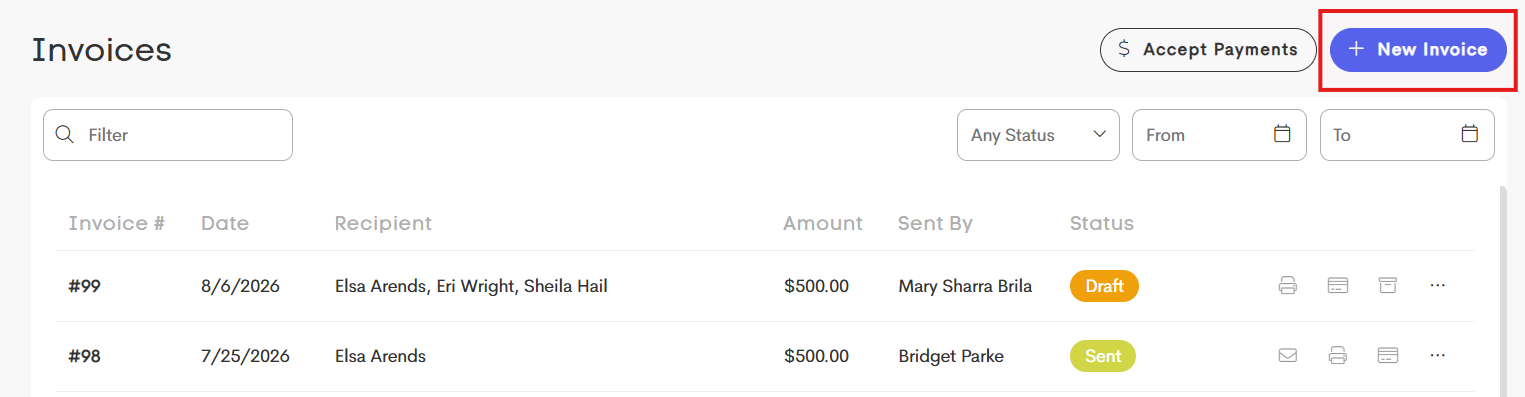
Click on + New Invoice.
-
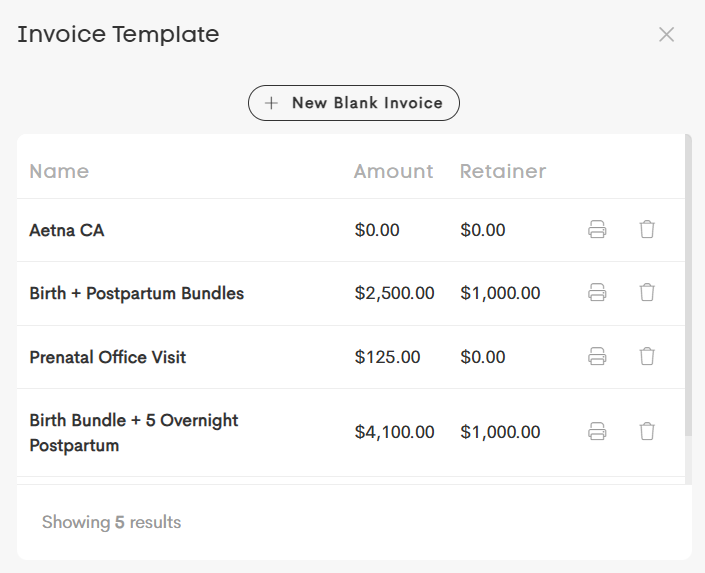
You may select an invoice template or start a new blank invoice.
-
Enter the necessary details, including the client name, invoice date, and services.
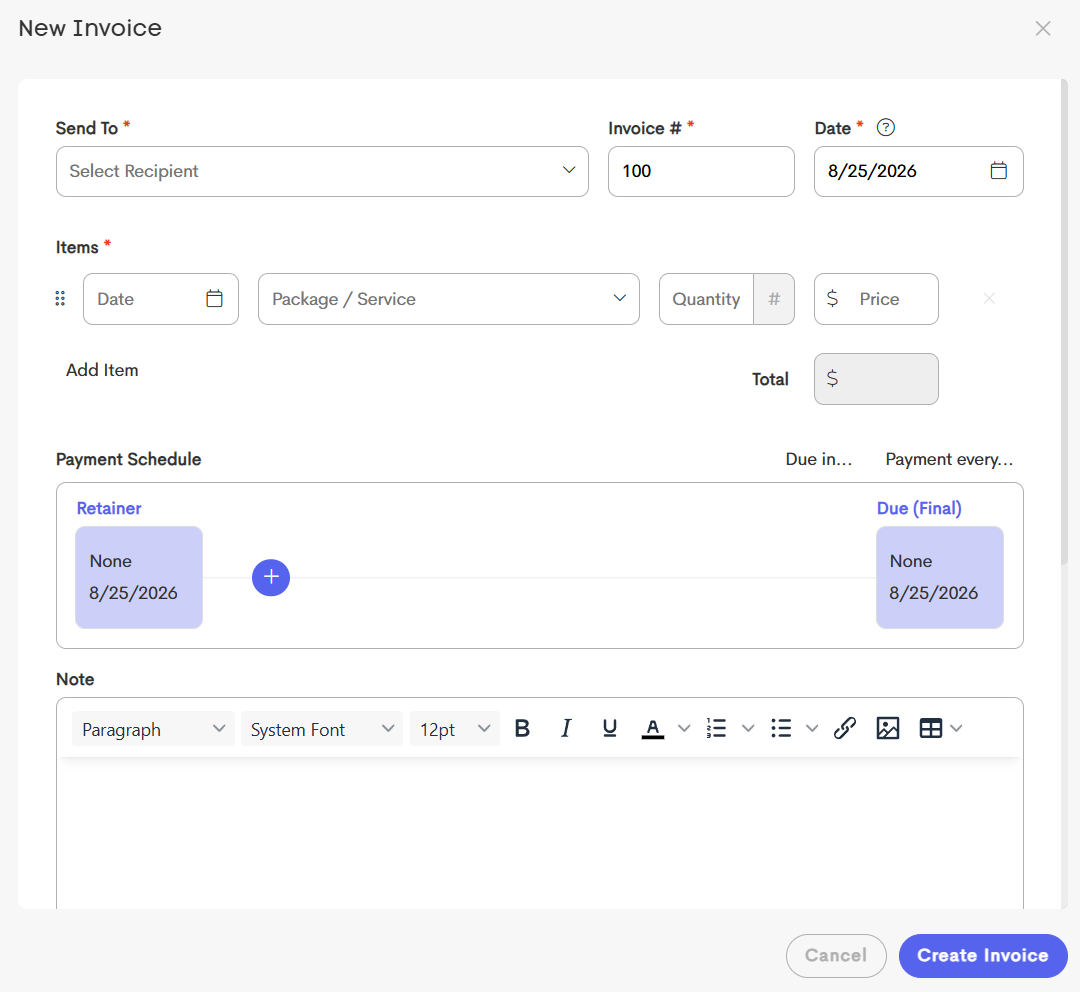
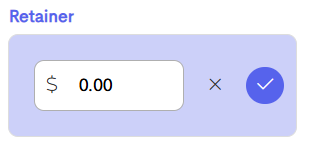
- You may add a Retainer by clicking on the blue box below the Retainer label. Enter the value and click on the check button.
-
To change the retainer date, edit the Invoice Date field at the top.
-
-
You can click on Due In... to select one of the default due dates, or click on the blue box below Due (Final) to edit that date. (That $ cannot be edited, but is total less other installments)
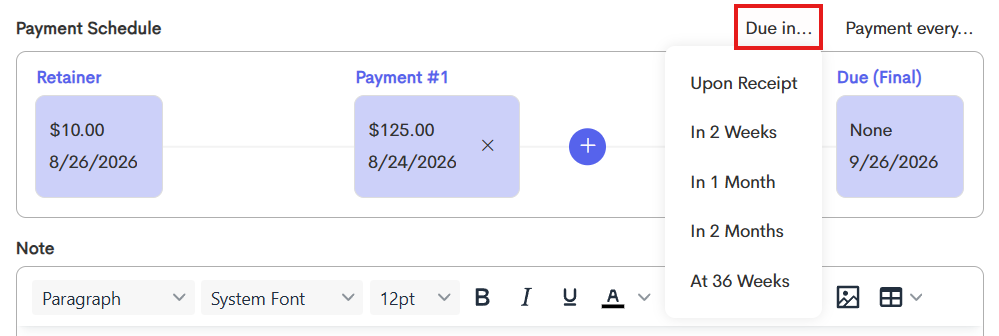
The price value under Due (Final) cannot be edited.
-
To add installments, click on Payment Every... to select one of the default options. Each time you add another installment, you can customize the date and the $ for that payment.
-
To add a new payment schedule, click on the + button. This will adjust the Final price due.
Once your payment schedule is finalized, you can use the Note field to send a customized message to your client about the invoice.
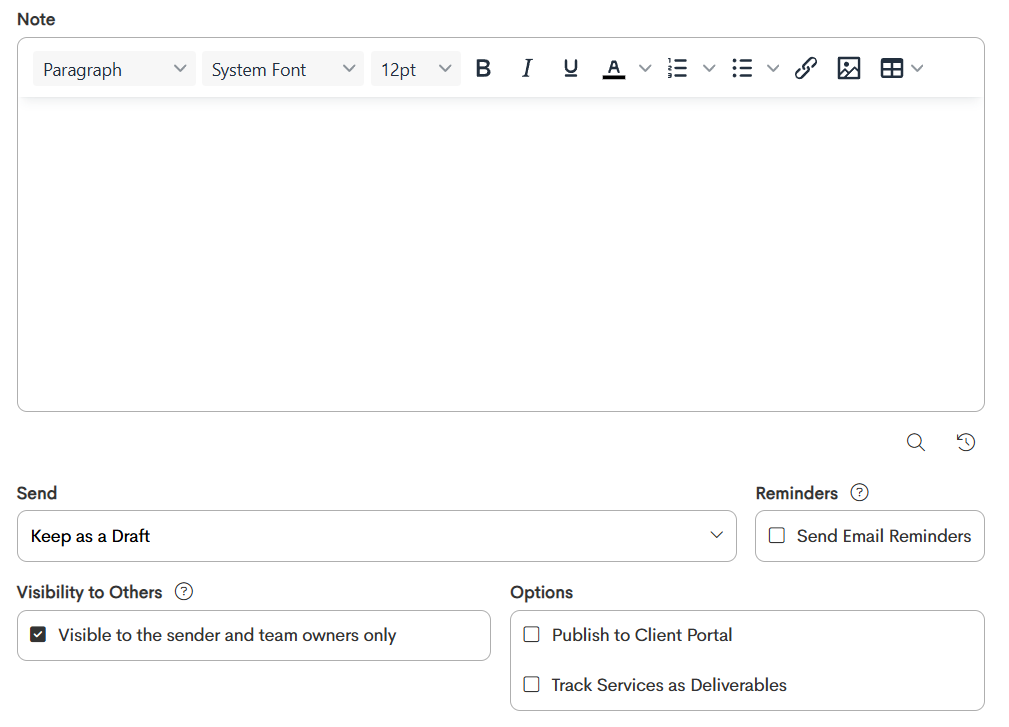
- In the dropdown under Send, choose whether to send the invoice to the client right away or to keep it as a draft.
- If you don't want the client to receive the email that an invoice has been created within Doulado, leave it as a draft.
- Under Reminders, enable Send Email Reminders if you want your clients to receive automatic email notifications about this invoice.
- Enable the Visibility option to have this invoice be viewable to only the sender and team owners.
- Leaving this box disabled will allow other providers to see this invoice.
- Under Options, you may choose to also publish this invoice to your client's portal and also track the services in this invoice as deliverables. Tick their box to enable them accordingly.
-
- Click on Create Invoice to complete.
- When you're done setting up the invoice, click Create Invoice.
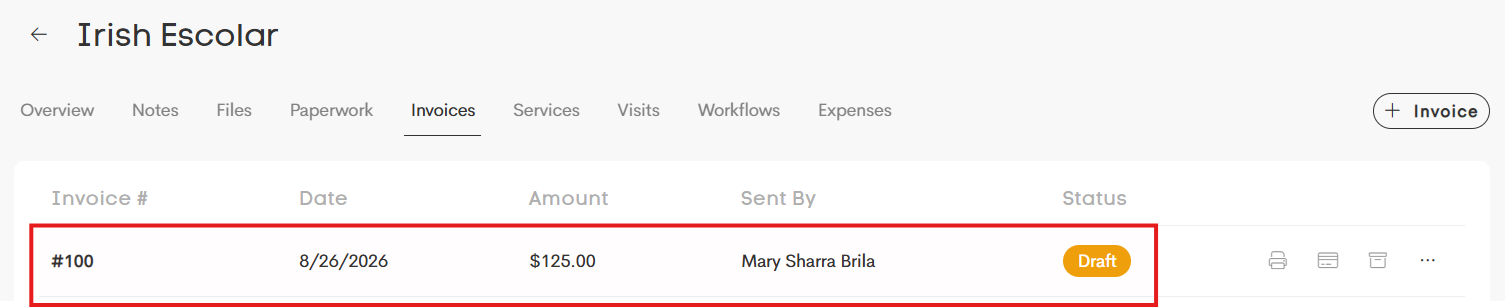
If you saved the invoice as a draft, you may come back to it by either going to the following:
-
Go to your client's profile > Invoices tab.
-
Navigate to Billing > Invoices.