
Creating an Invoice
There are two ways to create an invoice in Doulado. You can create a new invoice from scratch or use an invoice template to quickly generate a pre-filled invoice with your saved services, pricing, and settings.
Choose the method that best fits your workflow.
Table of Contents
Navigating to the Invoice Page
Method 1: Direct Creation (Template or Blank)
You can generate a new invoice via the Invoice Template modal which can be found both in a Client Journey or in the Invoices tab.
From a Client Journey
-
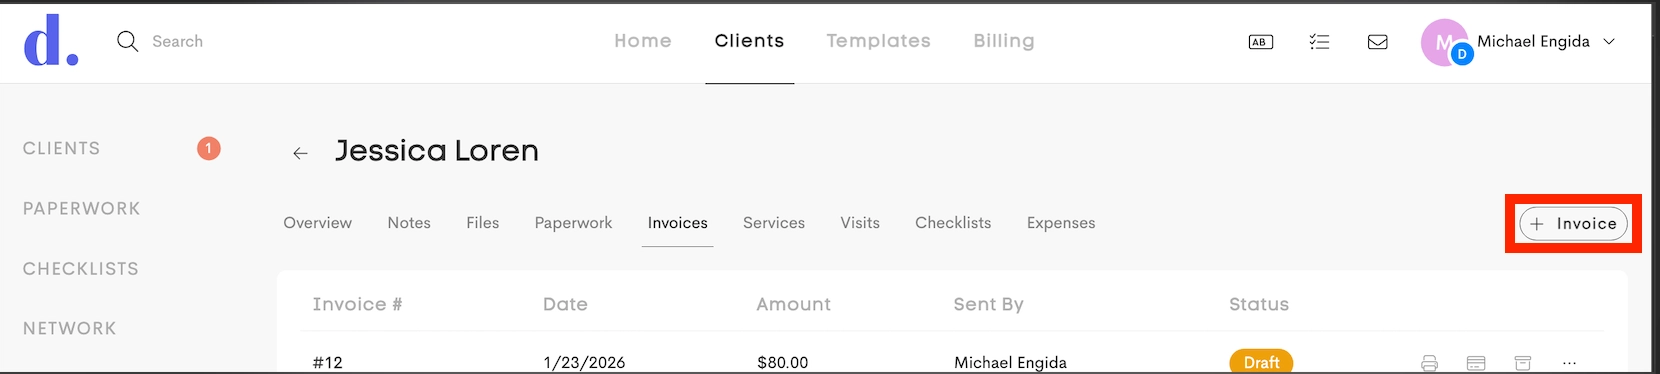
Click on the + Invoice button from the client's Invoices tab.
-
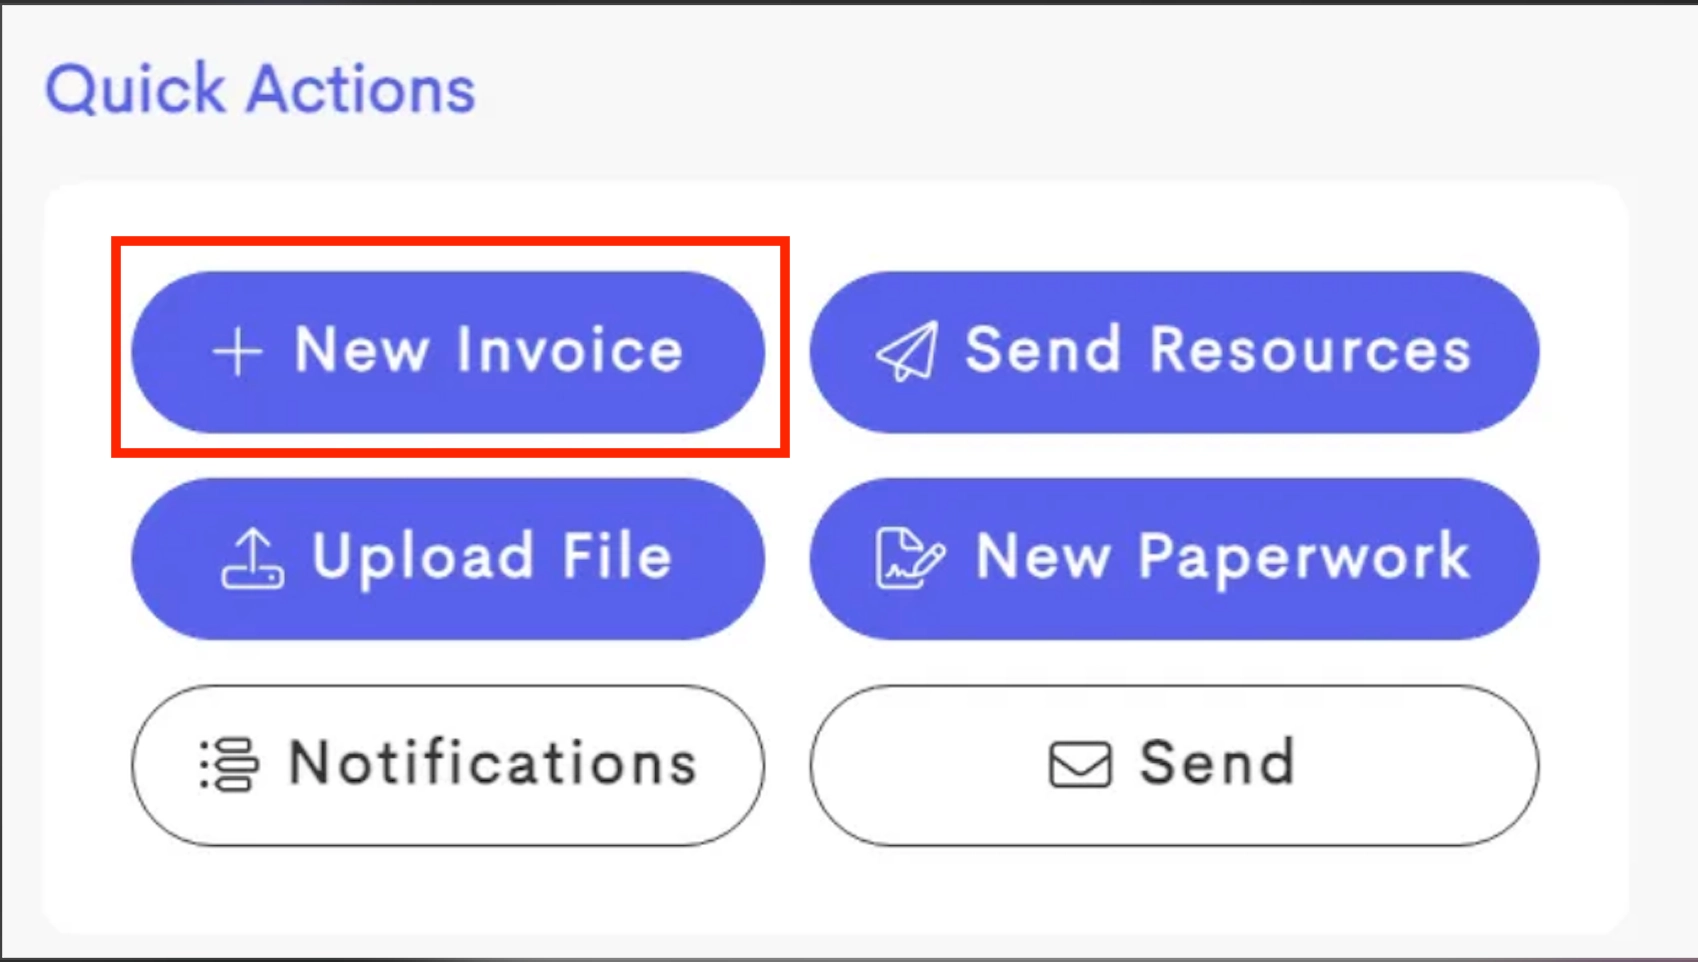
You can also go to the Quick Actions section on a client's Overview page and click on + New Invoice.
From the Billing Page
-
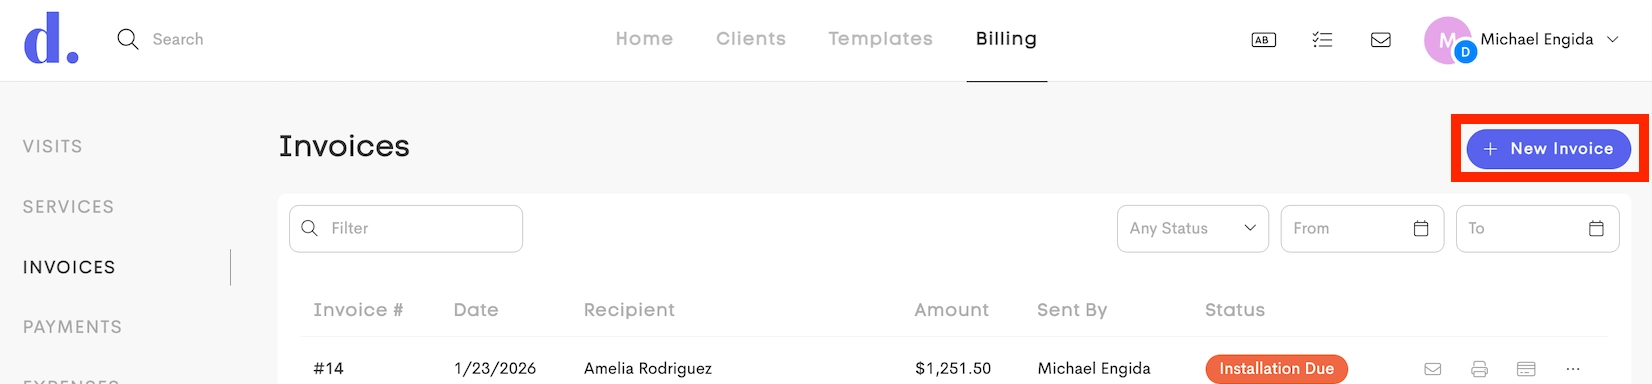
Click on the main Billing tab and go to Invoices from the side menu. Click the + New Invoice button on the right corner.
Both instances will open the Invoice Template modal for you:
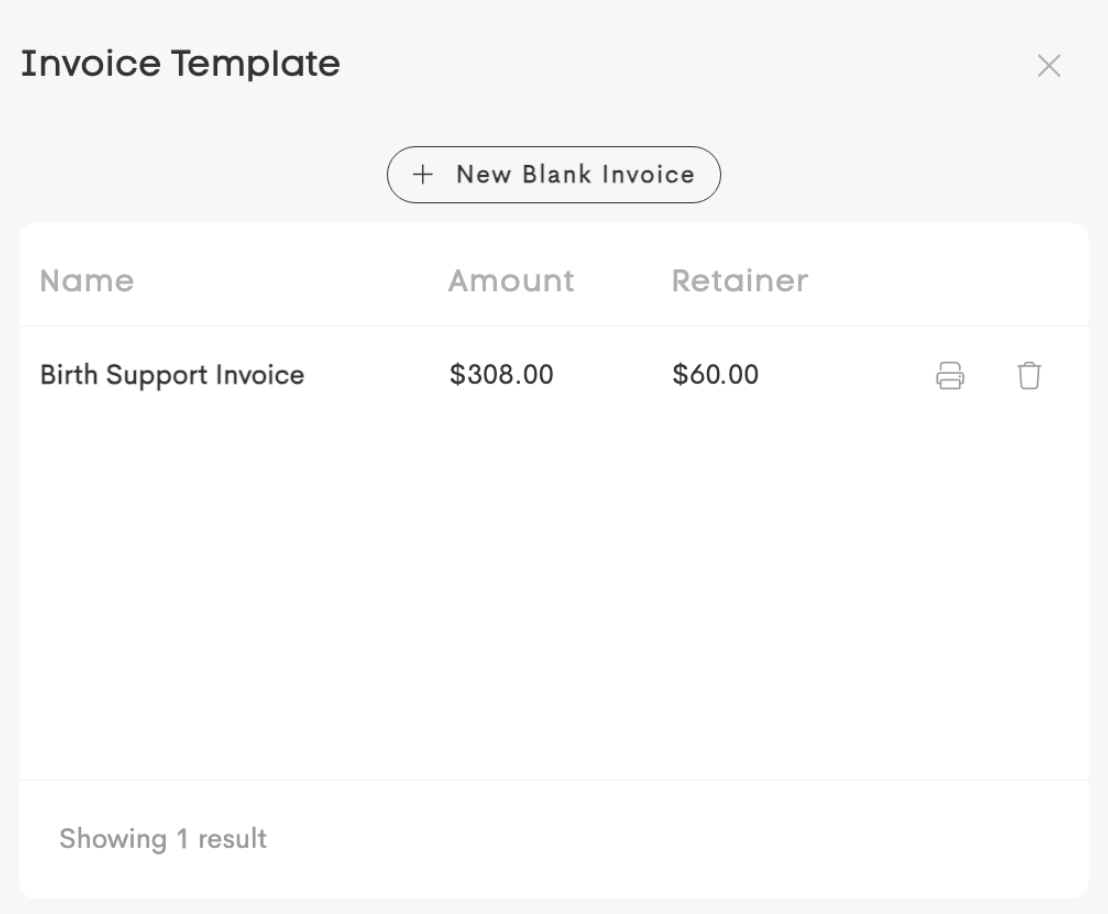
- New Blank Invoice: Opens the invoice editor with standard default values.
- Select a Template: Selecting a listed template opens the invoice editor pre-filled with the items, prices, installments, and notes defined in that template.
Method 2: From Billable Visits
If you've already recorded client visits, you can create an invoice directly from those appointments. Doulado will automatically add the selected visits to the invoice and pre-fill service details whenever possible.
From a Client Journey
- Go to the client's Visits tab and click on the Billing icon from the action menu. Select Create Invoice.
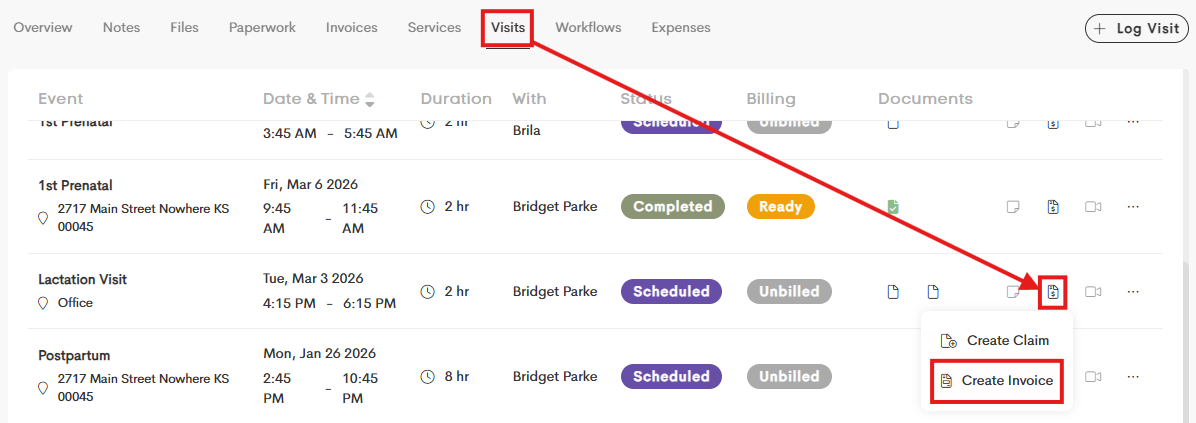
From a Billed Visit
- Go to the main Billing tab and stay on the Visits dashboard.
- Click on the Billing icon from the action menu and choose Create Invoice.
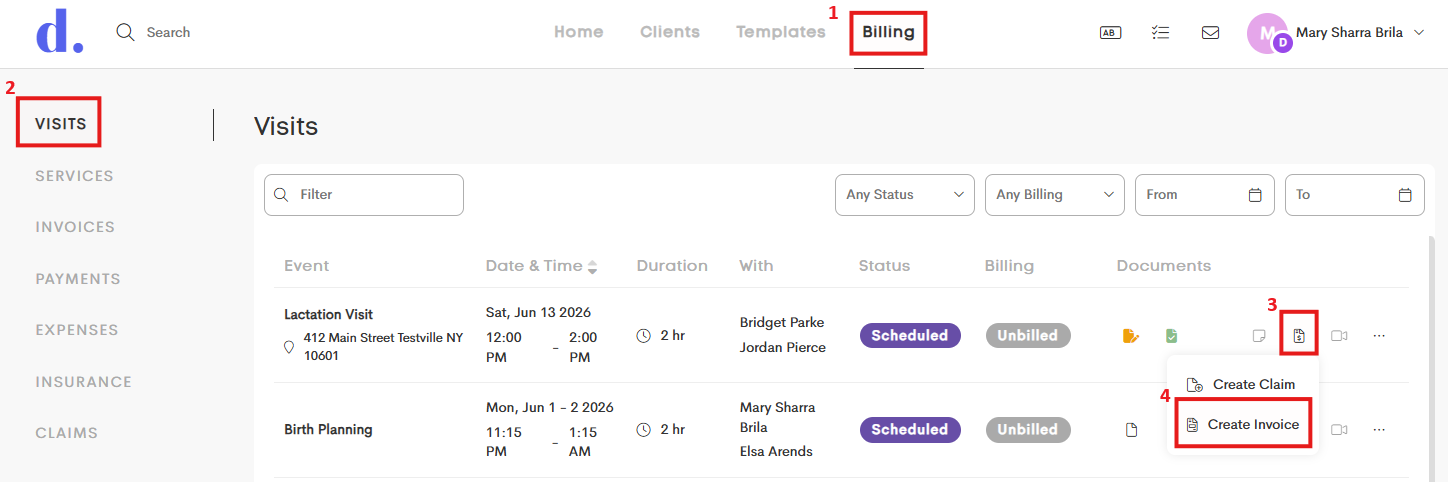
Visit Billing Modal
Both options will open the Visit Billing modal for you, where you can select visits to use a blank or an invoice template for.
Eligible Visits
The list in the Select Visits window automatically filters to show you only the relevant or eligible visits to be added to an invoice.
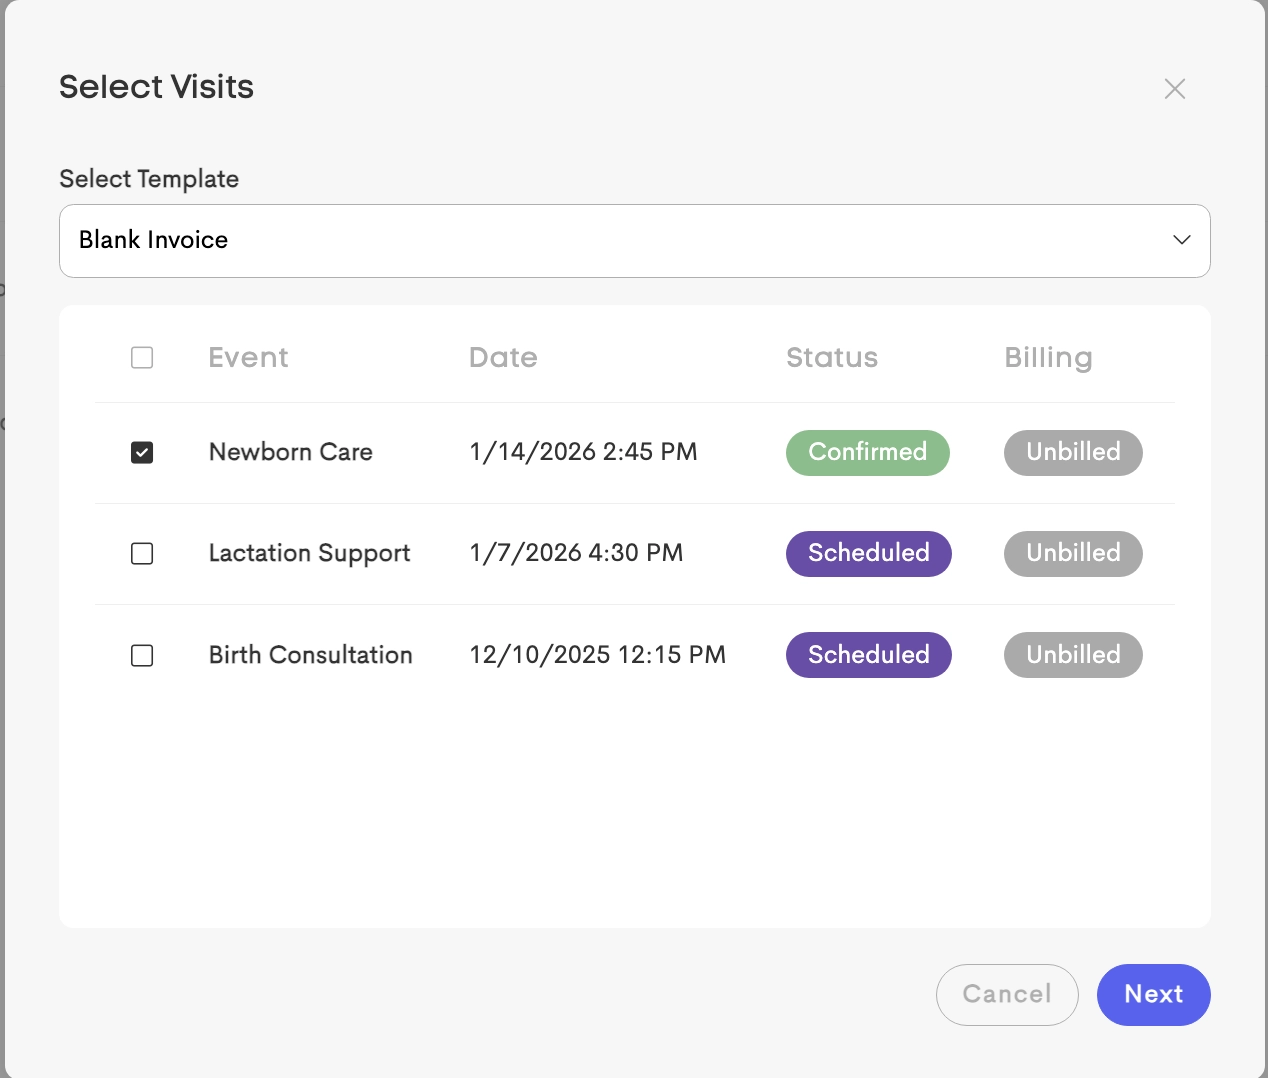
To appear in the list, a visit must:
- Belong to the same client journey and provider.
- Have a status of Scheduled, Confirmed, or Completed.
-
Have a Billing Status that is eligible for invoicing (any status except Not Billable)

Smart Line Items
When you create an invoice from selected visits, Doulado automatically creates an invoice line item for each visit and fills in the available details.
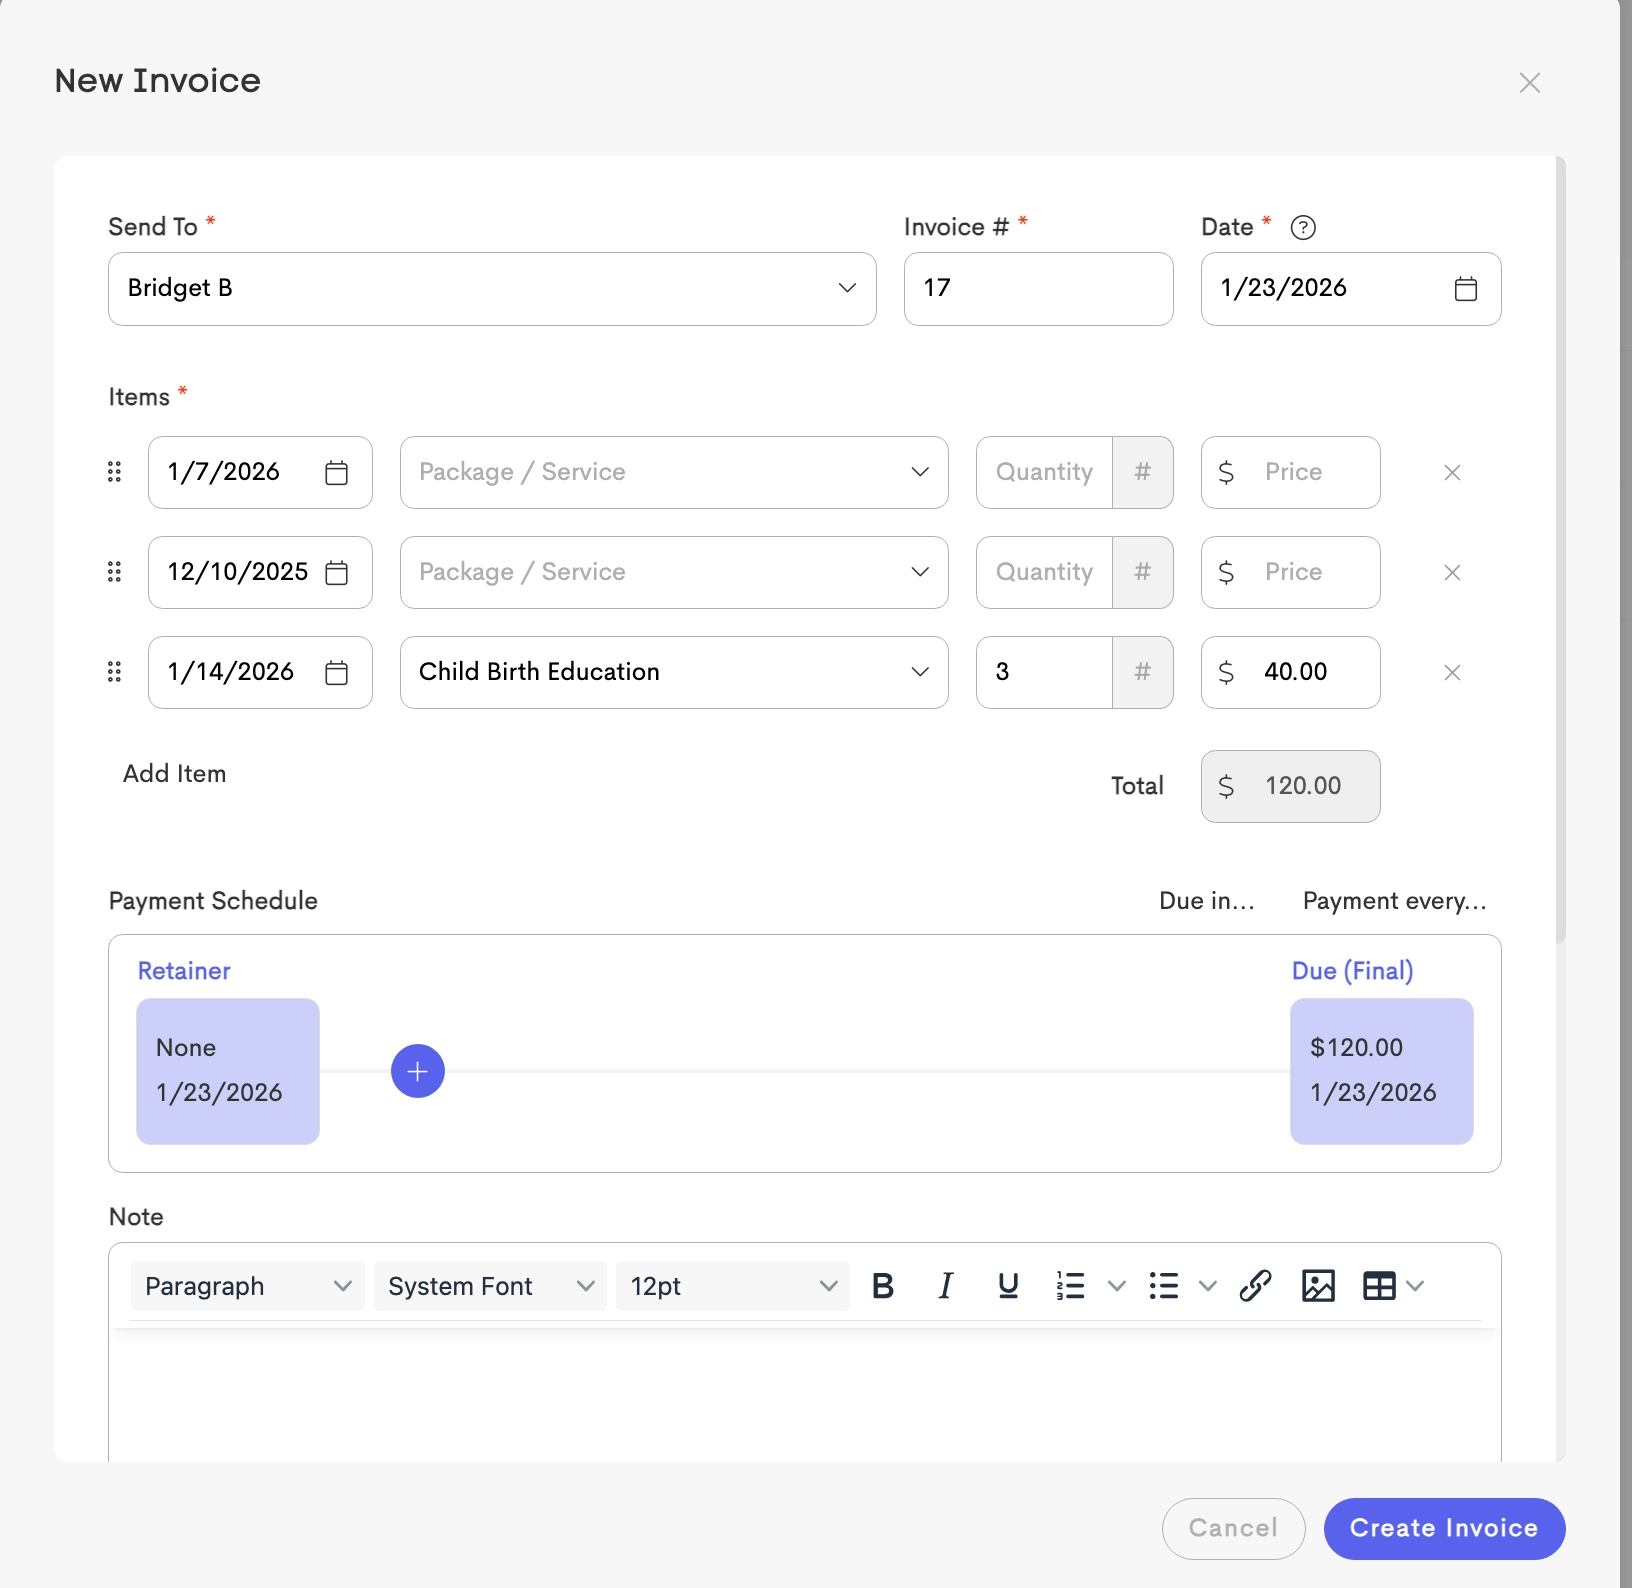
- Service Matching: If a visit was scheduled using an Appointment Preset linked to a service, that service template is automatically added to the invoice.
- Quantity Calculation:
- Hourly services: The quantity is calculated based on the visit duration (for example, a 90-minute visit is entered as 1.5).
- Standard services: The quantity defaults to 1.
Creating the Invoice
Before you start, ensure you have first added any required services and packages.
Once you've selected an invoice template or created a new blank invoice for a visit, follow these steps to complete the process of creating the invoice.
-
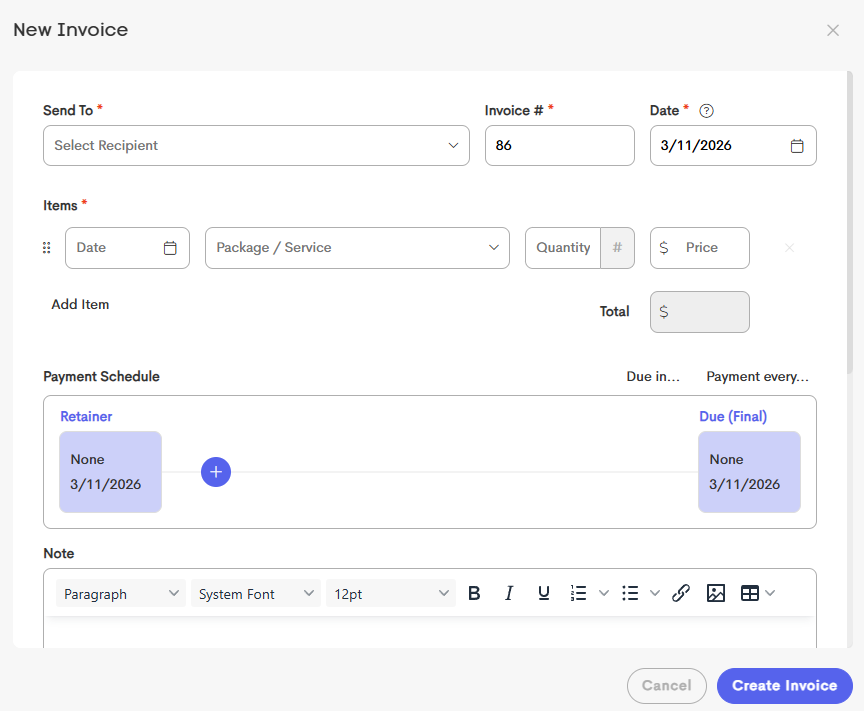
In the New Invoice modal, fil the required fields and enter additional details, as needed.
-
Items: Select the Date, Package/Service, Quantity, and Price for the invoice line item. Add additional line items as needed.
Note: If you're creating an invoice from a visit that used an Appointment Preset, some fields may be automatically filled in for you.
- Payment Schedule: You can add an optional deposit installment, and one or more additional installments at the required intervals.
-
See Invoice Installments for more information.
- Invoice Note: Add an optional note which will be visible on the invoice. You can select from a previously created note template to more easily add recurring notes.
See Invoice Note for more information.
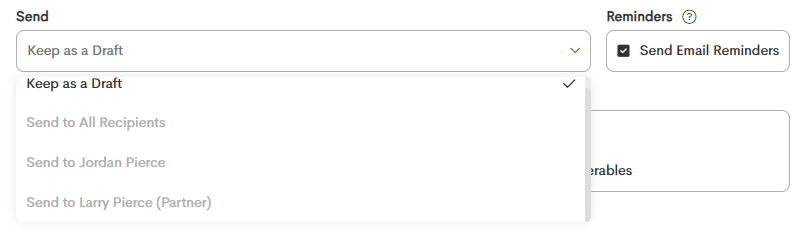
- Send: The dropdown lets you choose how you'd like to send the invoice after it's created:
- Keep it as a draft
- Send it to All Recipients
- Send it to your Client
-
Send it to your client's added Contact
- Once you're done, click on the Create Invoice button to finalize your invoice.
- You can now see this new invoice in the Invoices page from the main Billing tab > Invoices.
If you leave an invoice as a draft, you can come back to send when you are ready and the client will not be alerted until it is sent.
- Regardless of whether or not the reminders are on, the client (or contact) will receive an email notification that the invoice has been created if you choose to send.