
Adding Appointment Presets
Adding Appointment Presets helps you schedule faster and more consistently by creating reusable templates with predefined appointment names, durations, and linked paperwork for each visit type.
To add a preset, follow these steps:
-
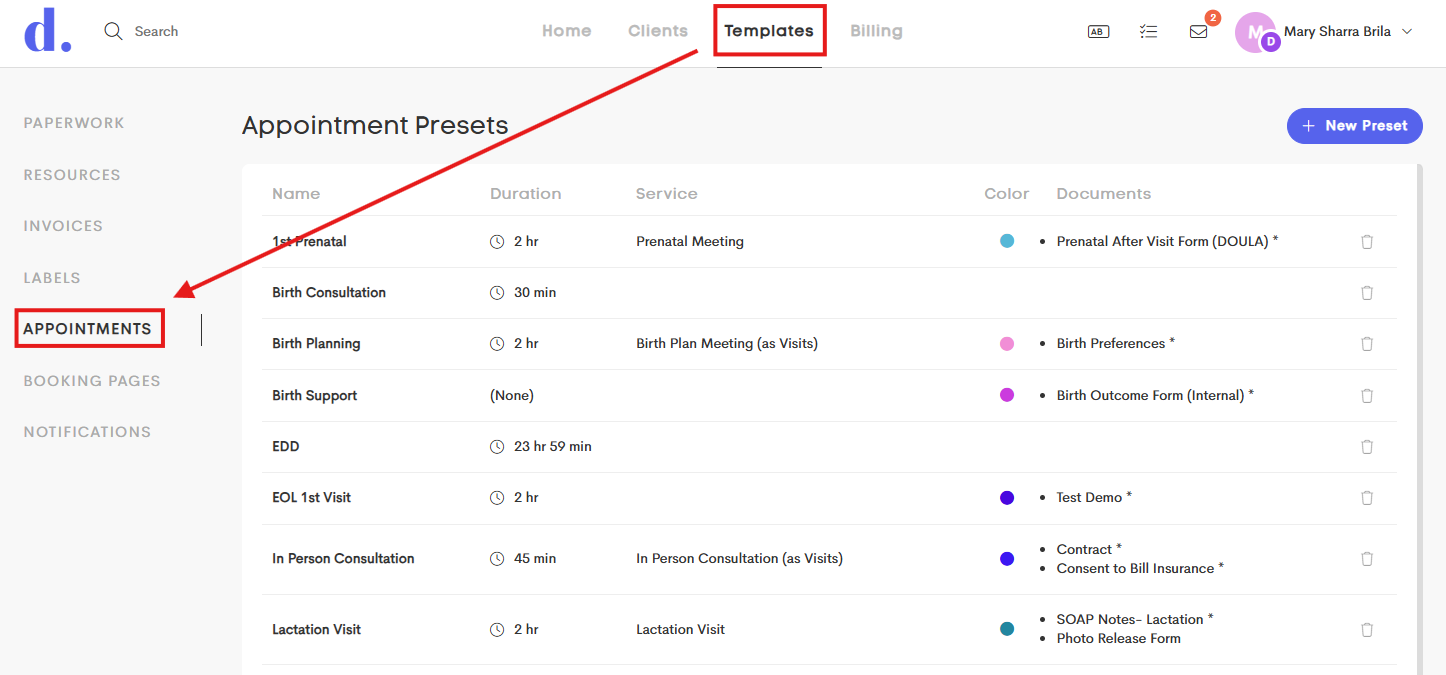
Go to the Templates dashboard and click on the Appointments tab on the side.
-
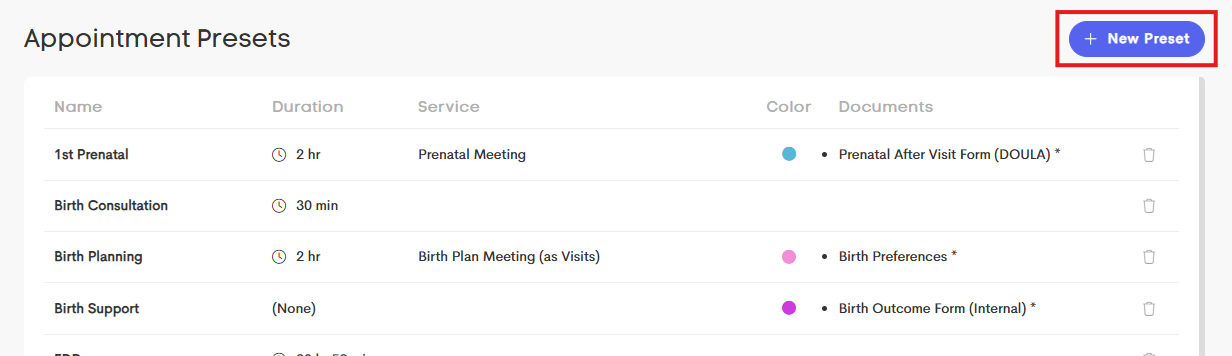
Click on + New Preset in the upper-right corner.
-
Fill out the fields with the necessary information about the preset you want to add.
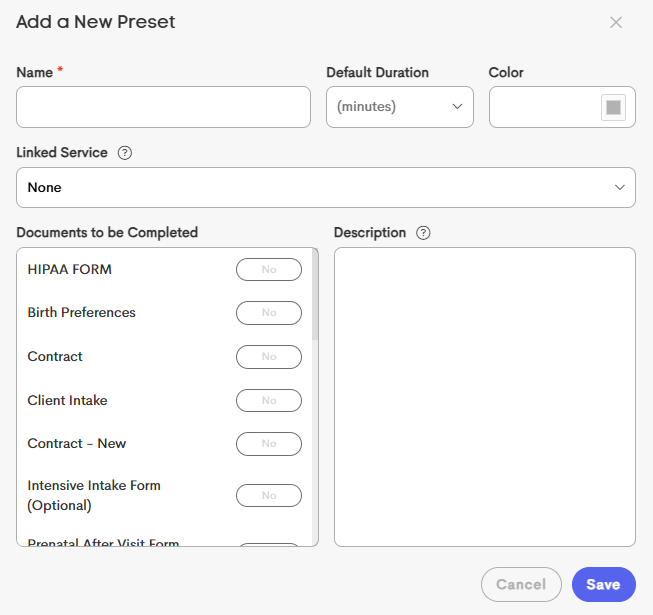
- Name: Enter a descriptive name for the appointment type.
- Default Duration: Set the standard appointment length. You can still adjust the duration for individual appointments when needed.
- Color: Choose a color to help visually identify this appointment type on your calendar.
- Linked Service: Select a service to automatically add to the client’s service log whenever this preset is used.
- Description: Add default notes or instructions that will automatically appear in the appointment description field.
- Documents to be Completed: Select any document templates associated with this appointment type:
-
Optional: Documents do not need to be completed before marking the visit as completed
- Required: Documents must be completed before the visit can be marked as completed
-


Required documents must be completed before the visit status can be changed to Completed.
For more information on adding documents for a preset, check this article: Linking a Paperwork
- Click Save to add this new appointment preset in the the list.