
Visit Notes
Visit Notes allow you to document important details from client visits, helping you keep accurate records and track care over time.
You can write notes directly after a visit or use templates to save time and maintain consistency across your documentation.
Visit Notes Vs Client Notes
Both Client Notes and Visit Notes help you document information, but they serve different purposes:
- Client Notes: These are used for ongoing documentation and progress tracking across a client’s journey. These notes are more comprehensive and can be downloaded for record-keeping or reporting.
For more information on Client Notes, check out this article!
- Visit Notes: These are used to capture details specific to a single appointment or visit, such as what happened during the visit or if it was canceled and why. Visit notes cannot be downloaded individually or timestamped, but are included when exporting your visit log, and can also be included when you choose "export all" in the client's notes section.
Creating a Visit Note
To add a note:
- Open a visit via either of the following:
-
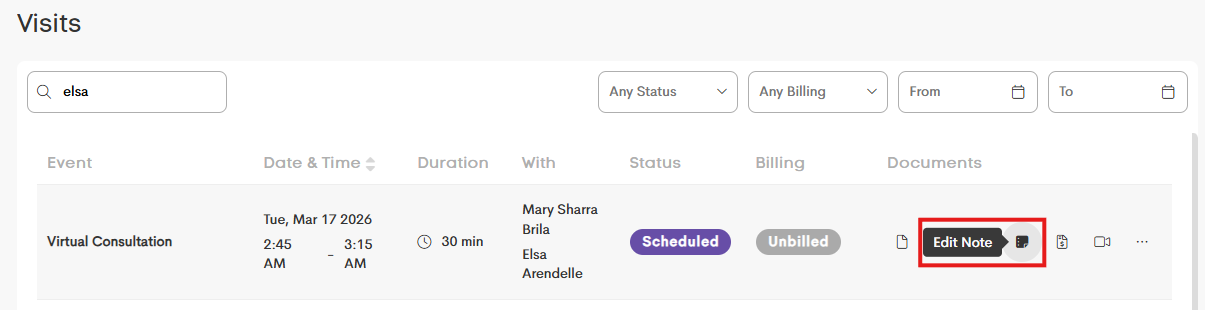
Billing > Visits. Click on the Edit Note icon from an event's row actions.
-
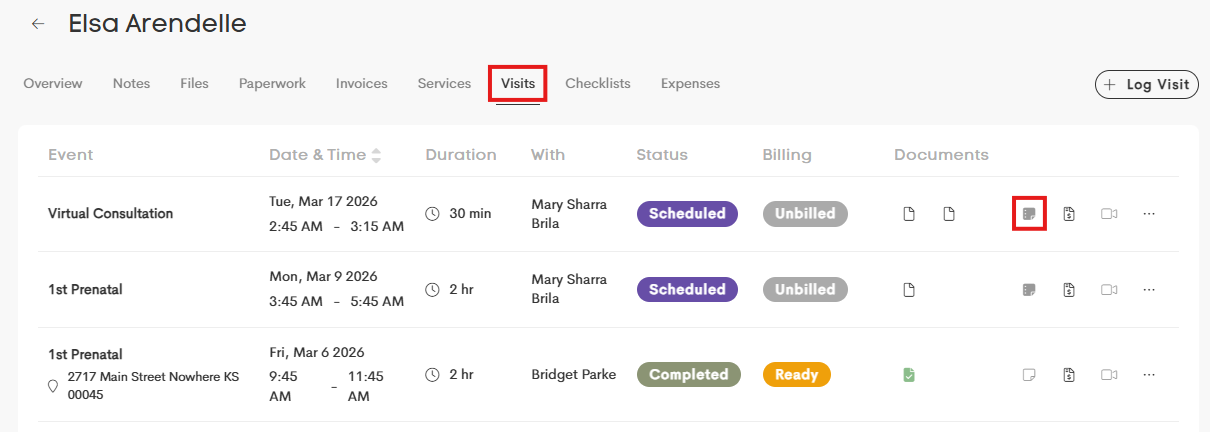
Clients > Client List. Choose a client account and open their profile. From the tabs, click on Visits and go to Edit Note.
-
Home > Calendar. Click on a scheduled visit and go to the Edit Note icon in the
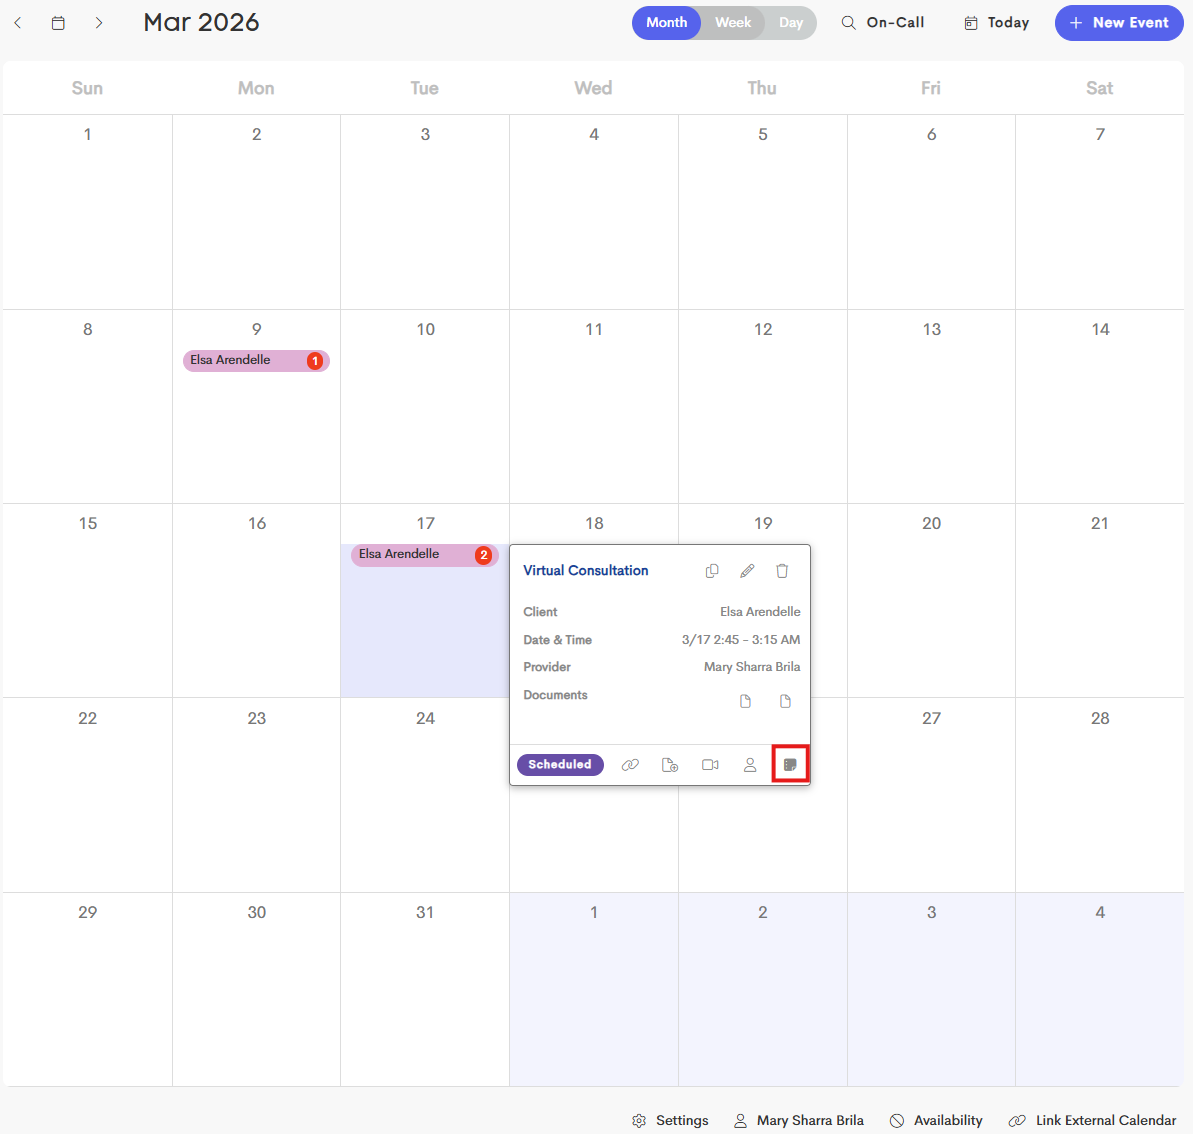
-
- In the Visit Note modal, you can freely enter your own visit notes or choose to use an available template.
- You can format your notes using the toolbar to keep your documentation clear and organized.
- Click Save.


Recently Used Notes
You can also access recently used notes to quickly reuse past content.

Here you can:
- View previously used notes
- Copy and reuse them for similar visits
Managing Visit Note Templates
You can create and manage templates to streamline your workflow by going to Saved Text.

In the Templates window:
- Go to Visit Note tab and click on the + Visit Note button.
- Enter your customized content for the template in box and format as needed.
- Add a name and choose whether to share it with the team or keep it private.
Shared templates help teams stay consistent when documenting visits.
- Click Save once done.
The new template will now appear in the existing list you can choose from.
Refer to this article for more information on using and managing templates: Text Templates.