Payers: Importing & Managing Payers
Before submitting claims or verifying eligibility, you must import specific payers from the global payer list into your local payer list.
Importing Payers
In order to use payers for claims services, the business first needs to import these payers. This can be done by clicking the “Add Payers” button.
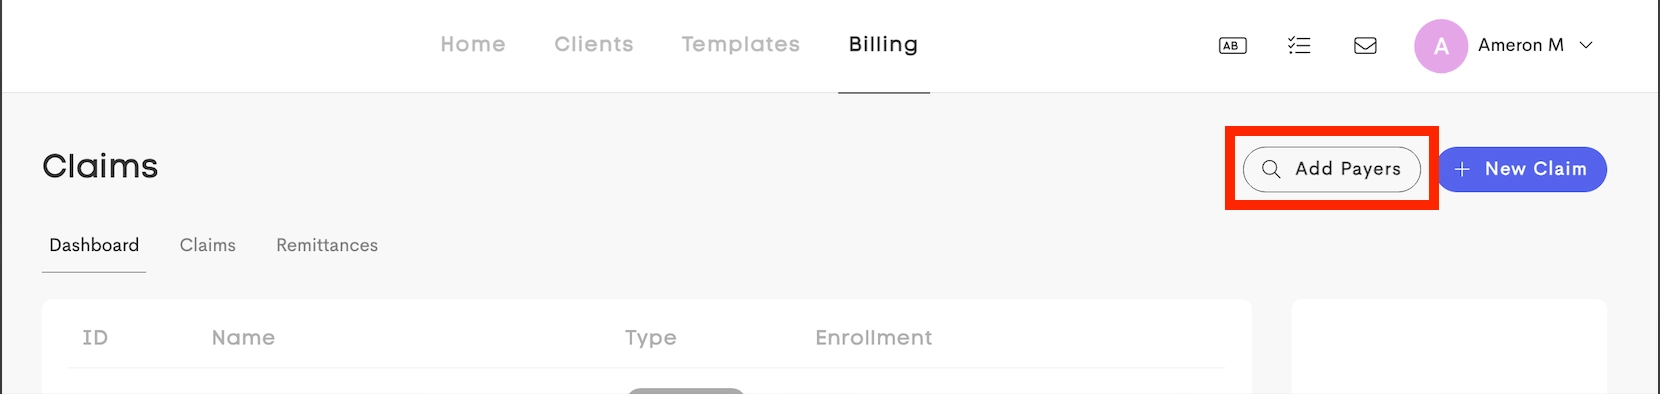
This opens up a searchable table of available payers to import:
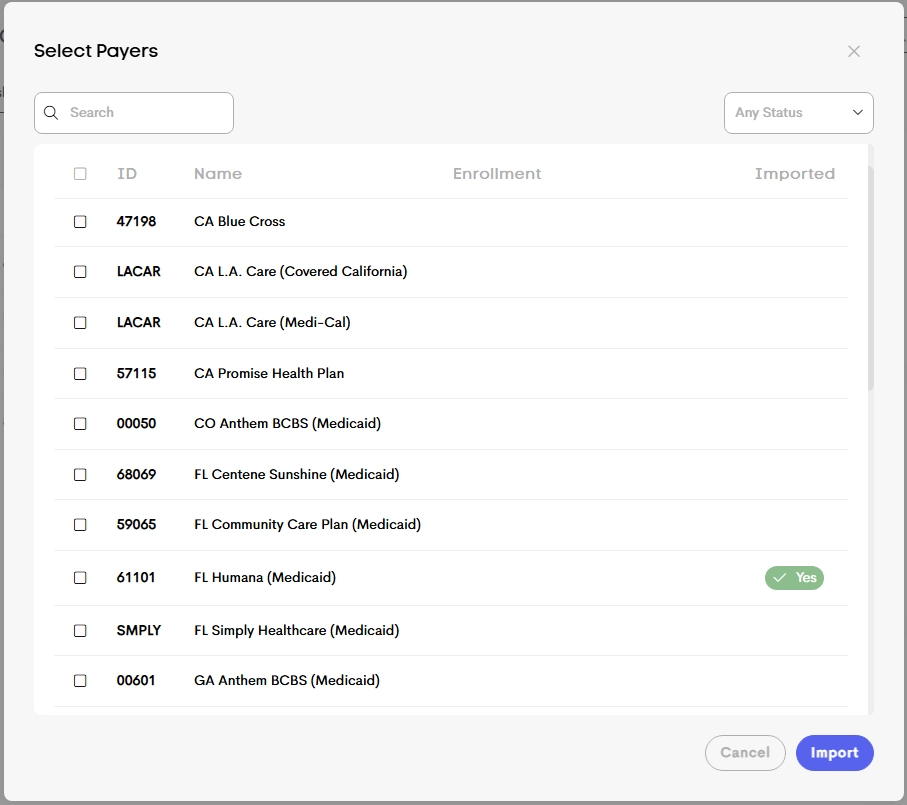
- The global payer list can be filtered by ID, Name, or Import Status (Yes/No)
- Once selected and imported, the payer becomes available in the the Dashboard, and can be selected on client journeys and lead forms.
Editing Payers
Once a payer is imported into your local payer list, you can edit it's name and other information to suit your needs.
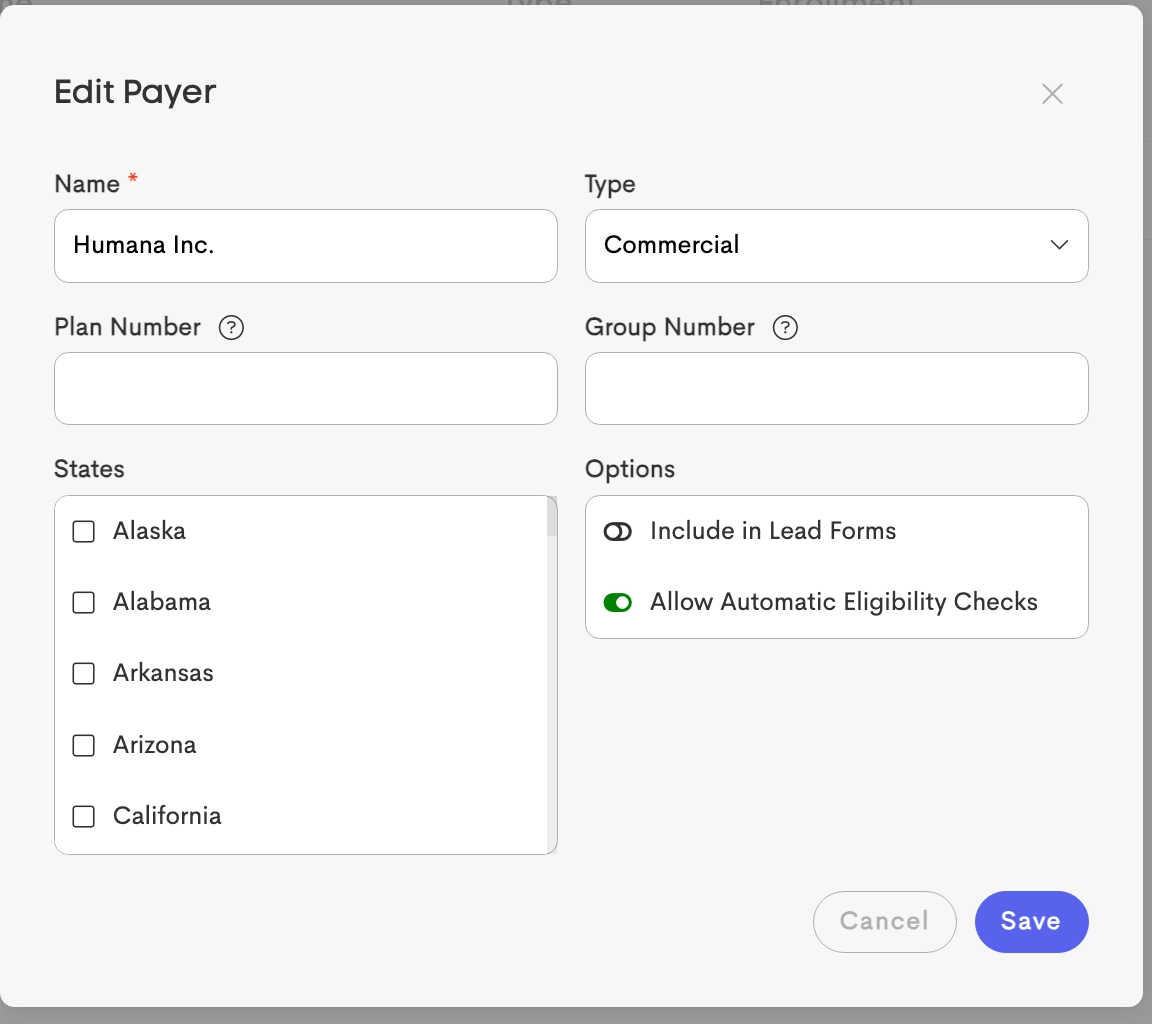
- Basic Information: The payer name and type can be defined, with “type” only affecting eligibility verification results.
- Plan & Group Numbers: If defined, automated eligibility checks will validate against these specific numbers.
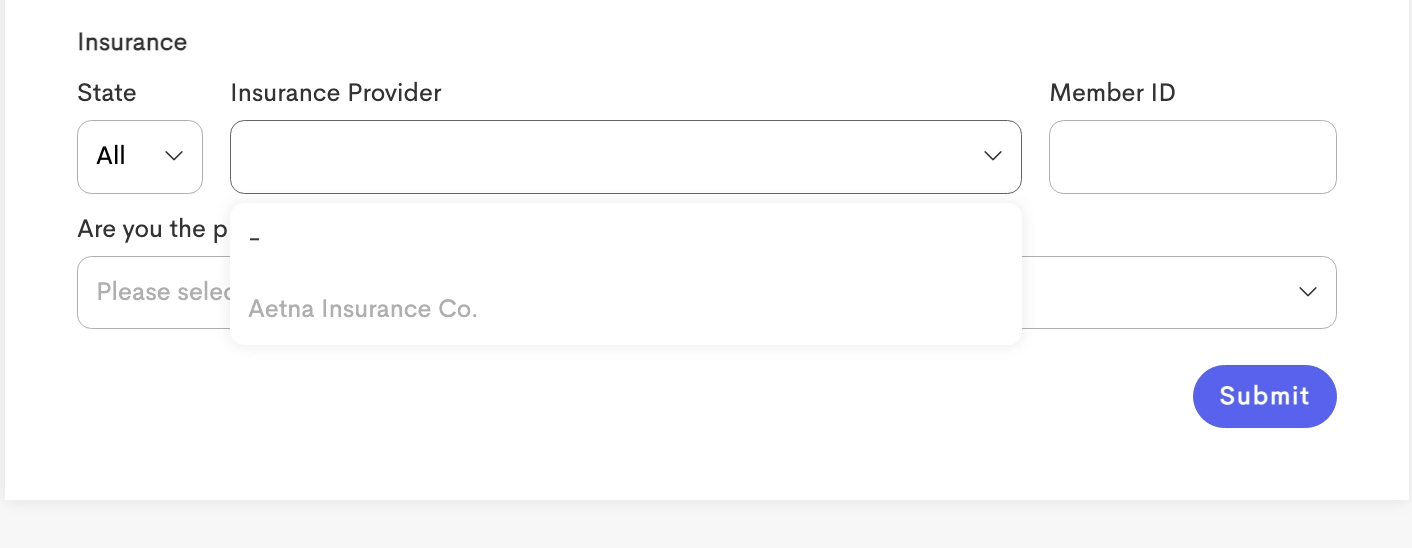
- States: When a client uses a Lead Form, selecting their state will automatically filter the Insurance Provider dropdown to only show payers associated with that specific state.
Payer Options (Flags)
- Include in Lead Forms: Controls whether this payer is selectable by clients on public-facing intake forms.
- Allow Automatic Eligibility: Determines whether to include the payer in background verification processes. If disabled, real-time and monthly eligibility checks will be bypassed for this payer. See Verifying Eligibility

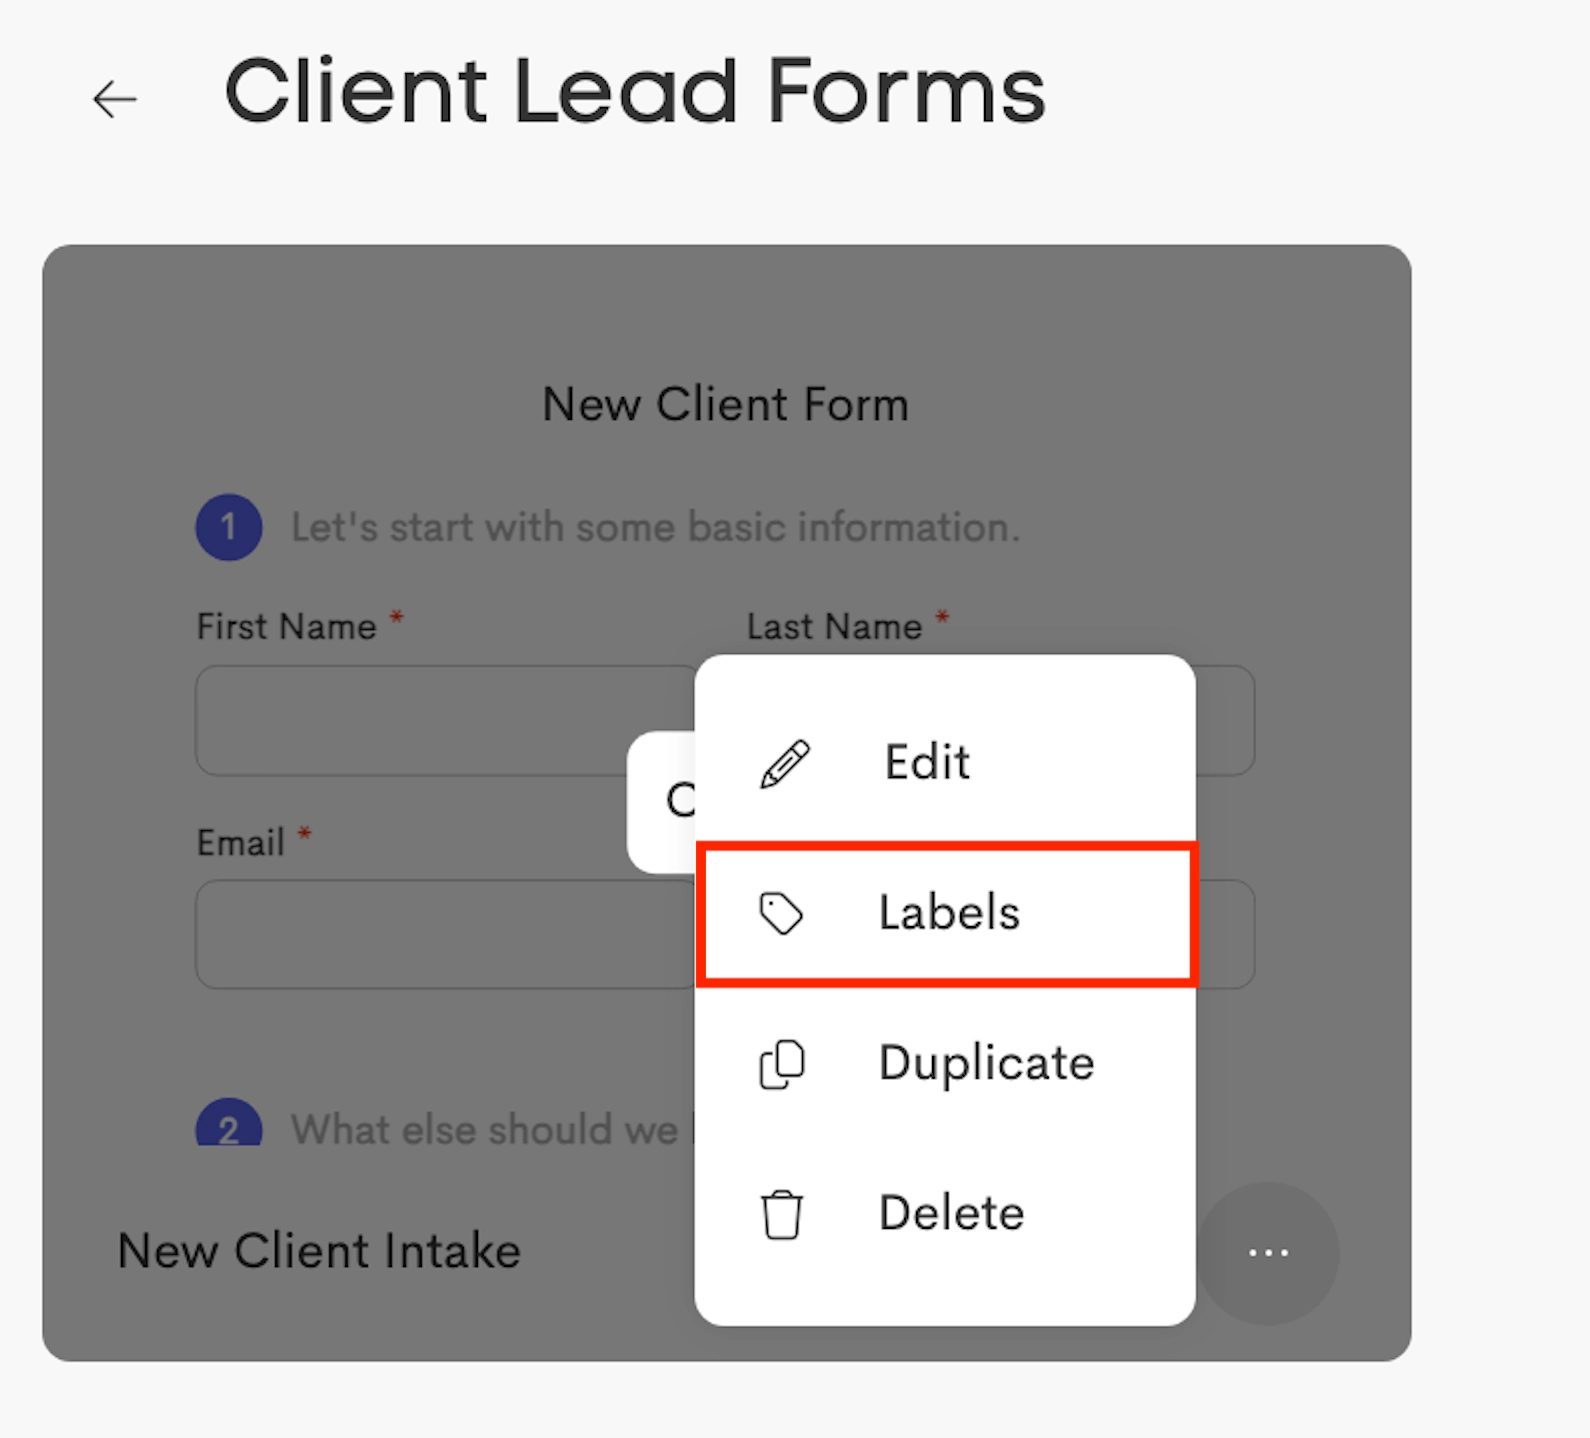
Assigning Labels
Labels control which lead (intake) forms display a payer in their insurance selection fields. When a lead form has labels added, only payers that have ALL of those labels will appear in the insurance selection dropdown.
|
|
Primary Care label applied to AETNA & not on BCBSCA |
|
|
Primary Care label also applied to Lead Form |
|
|
BCBSCA not shown in the lead form |