
Editing and Managing Appointment Presets
Keeping your Appointment Presets updated helps ensure appointments stay consistent, organized, and aligned with your current workflow.
Here's how you edit and manage your Appointment Presets:
-
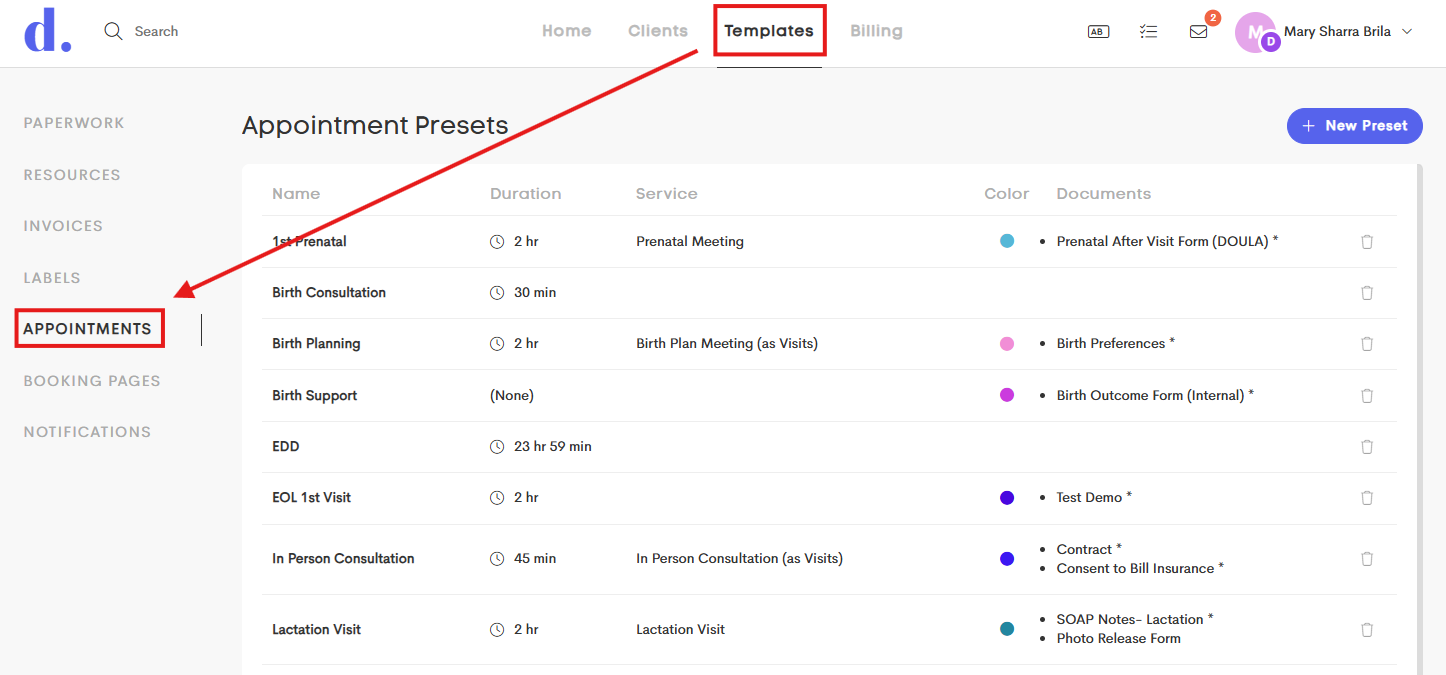
Go to the Templates dashboard and click on the Appointments tab on the side.
-
The list gives you a quick overview of all your saved presets and their key details, making it easy to review and manage your scheduling templates.
Click on a preset to edit it or delete it via the Delete button.
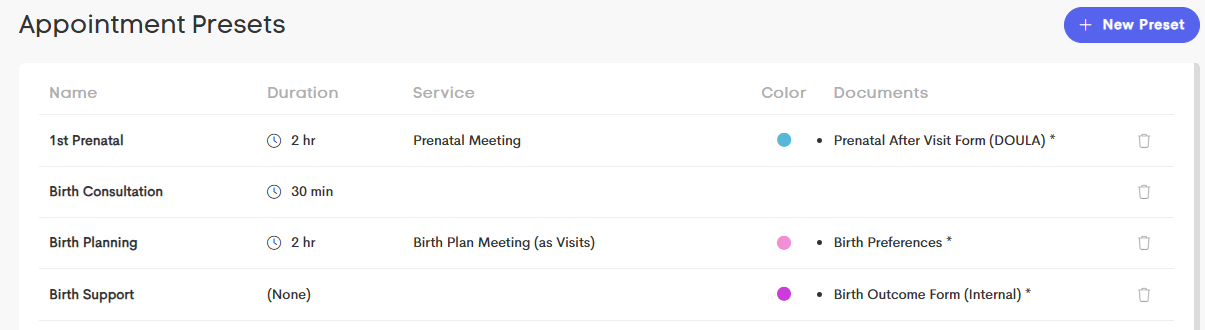


- Name: The title of the appointment preset
- Duration: The length of the appointment
- Service: The linked service automatically added when the preset is used
- Color: The calendar color used to visually identify the appointment type
- Documents: Any linked paperwork associated with the appointment preset
-
When editing an Appointment Preset, you can update the same details available during setup, including the name, duration, color, linked service, description, and associated documents.

- Once you're done, click on Save to finalize the changes.
