
Visit Settings
Configure how visit and billing statuses work together, manage client notification requirements for status changes, and choose which updates appear in the client timeline.
Billing Status Permissions
-
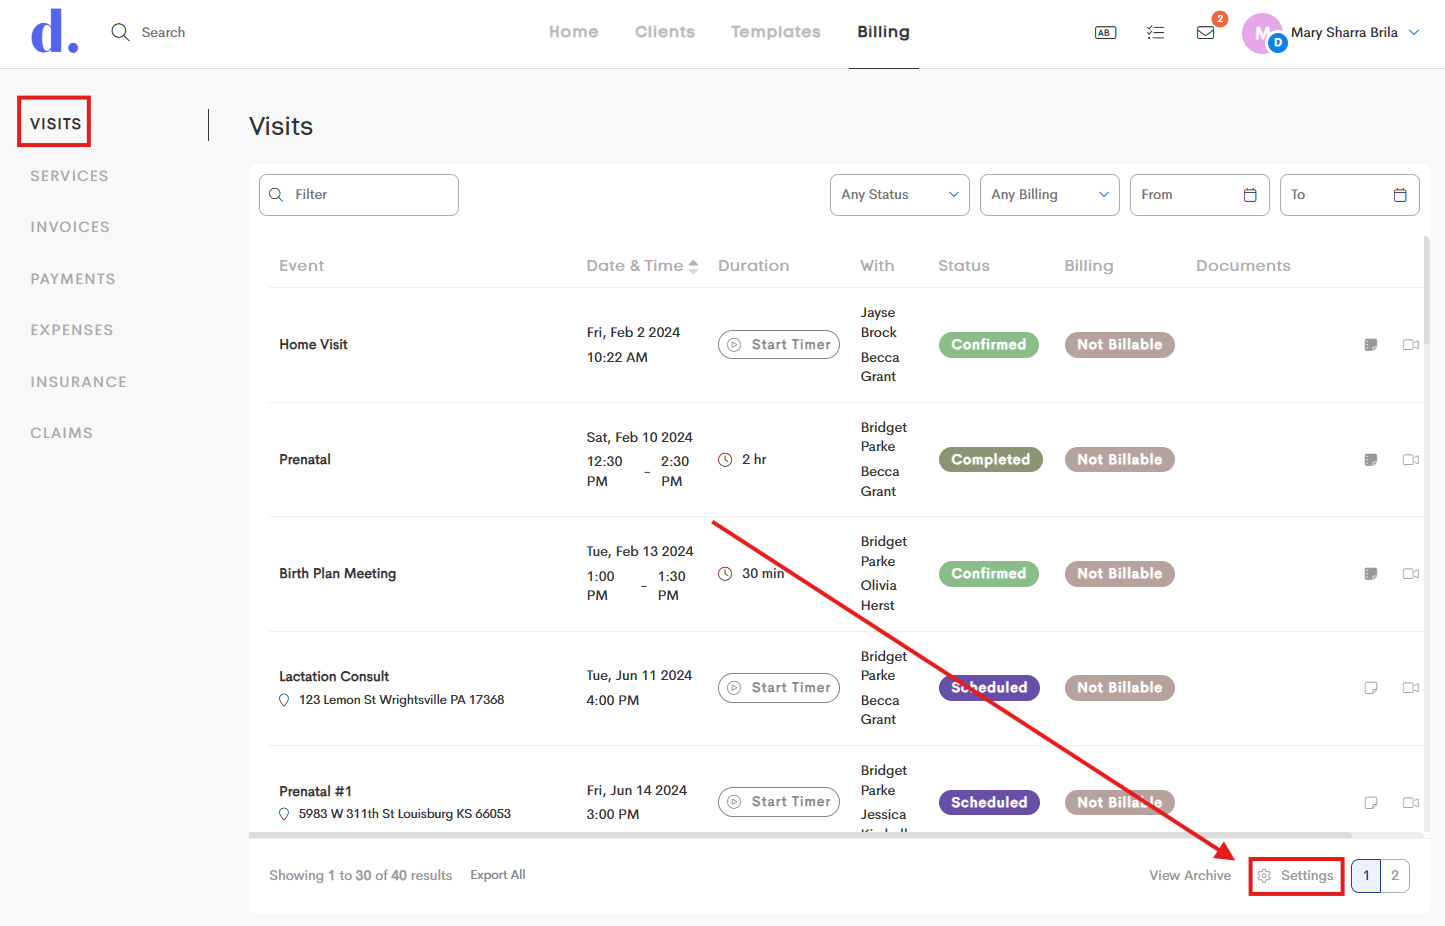
Go to Billing and stay on the Visits tab. Open the Settings icon at the bottom.

-
In the Visit Settings, refer to the Billing Status Permissions section and modify the following according to your workflow:
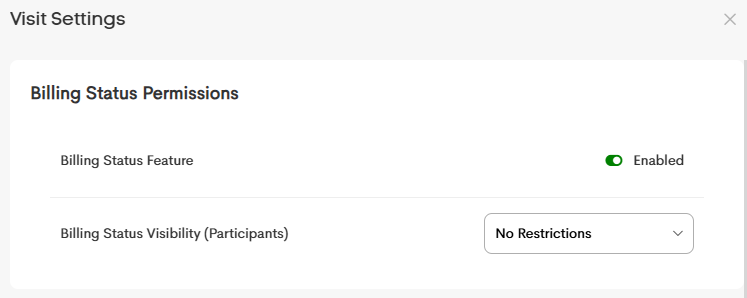
- Billing Status Feature: Enable or disable billing status tracking for visits.
-
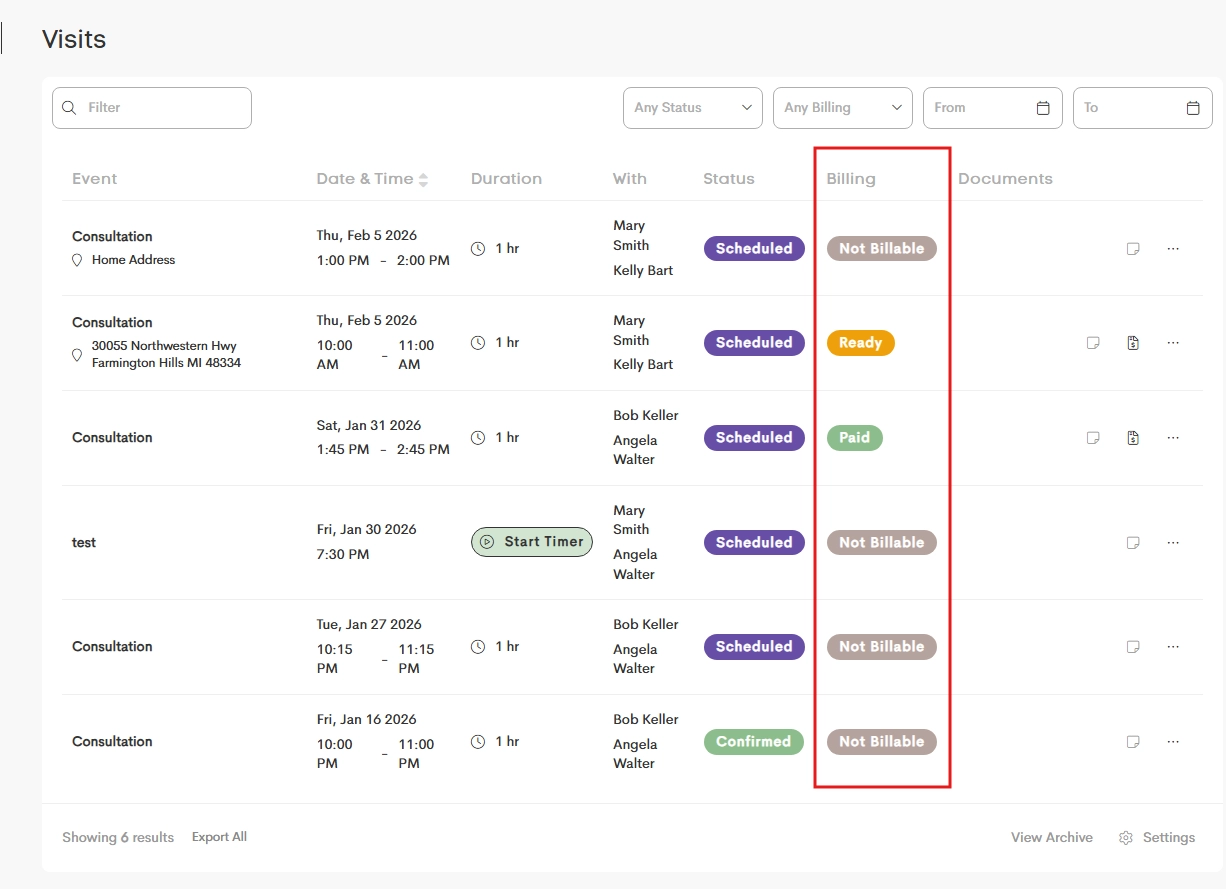
Billing Status Visibility (Participants): Control which billing statuses Participants are allowed to view or update.
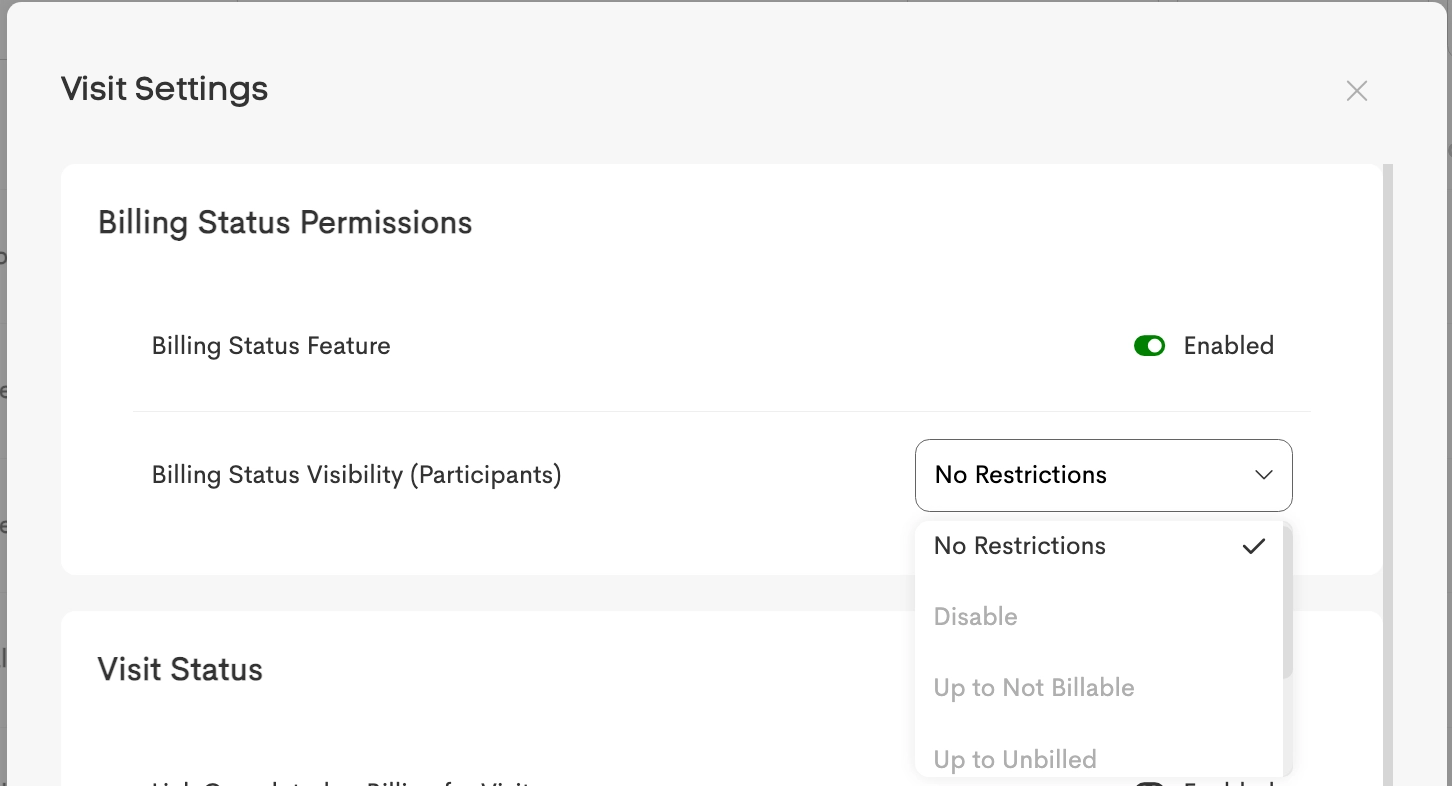
- Disable: Billing statuses are hidden from Participants
- No Restrictions: Participants can select any billing status
-
Up to [Status]: Participants can only update billing up to a certain stage (for example, “Up to Ready” prevents them from setting statuses like “Billed” or “Paid”)
This is only available if the feature is enabled in the setting. 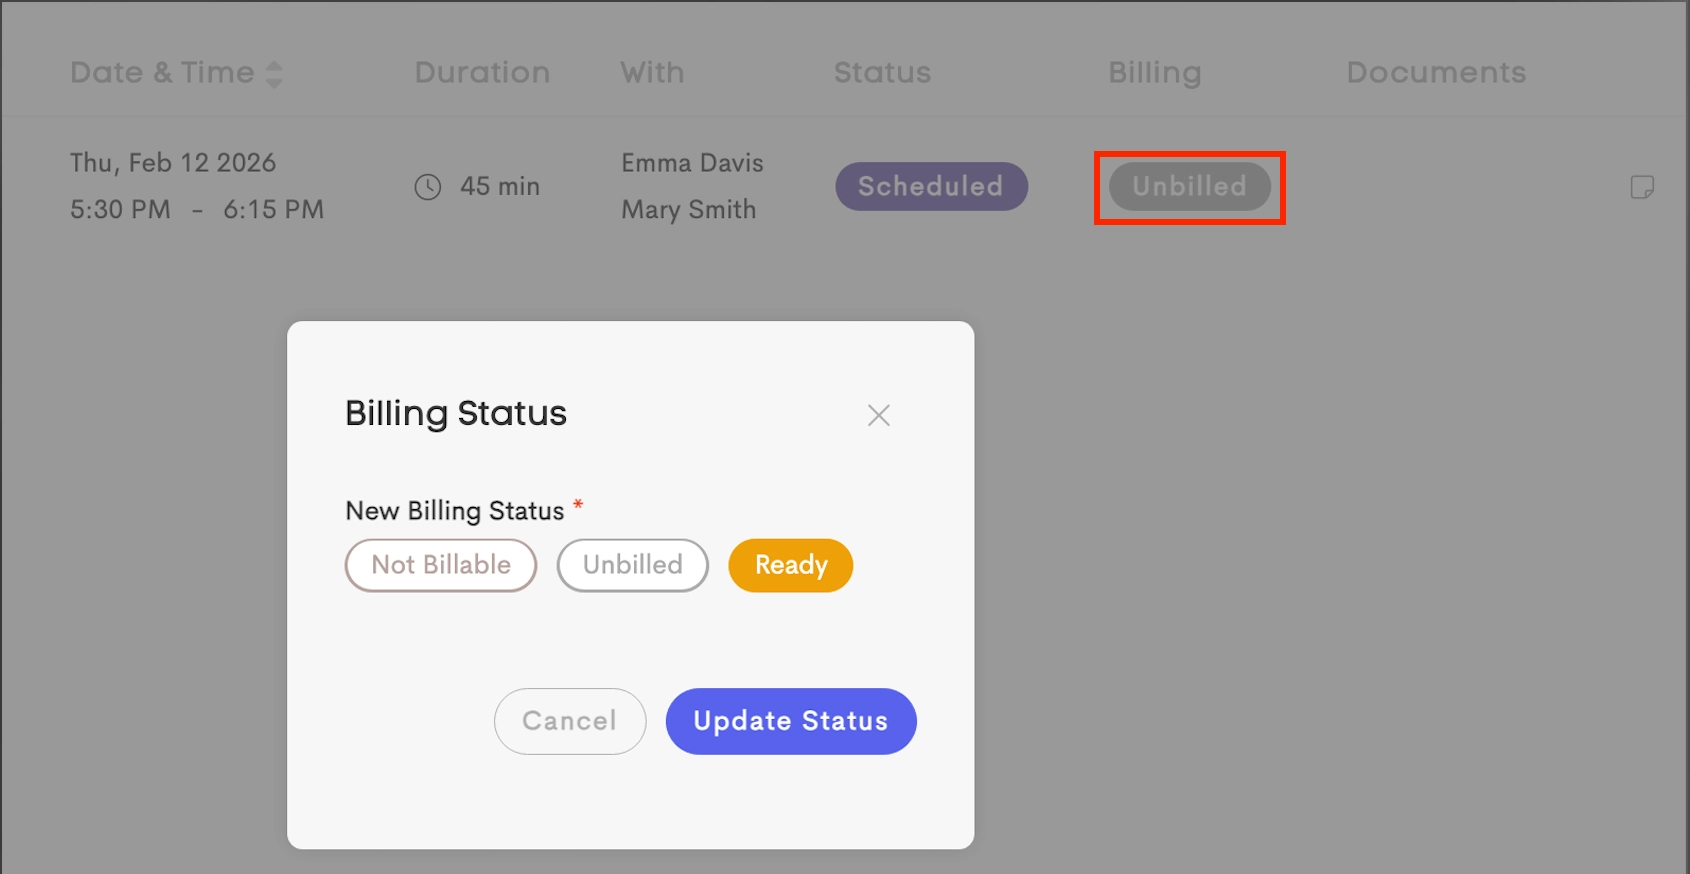
If set to “Up to Ready,” Participants can only update billing statuses up to the selected stage.
- Click Update to save your changes.


Visit Statuses
-
In the Visit Settings, refer to the Visit Status section to modify the following:
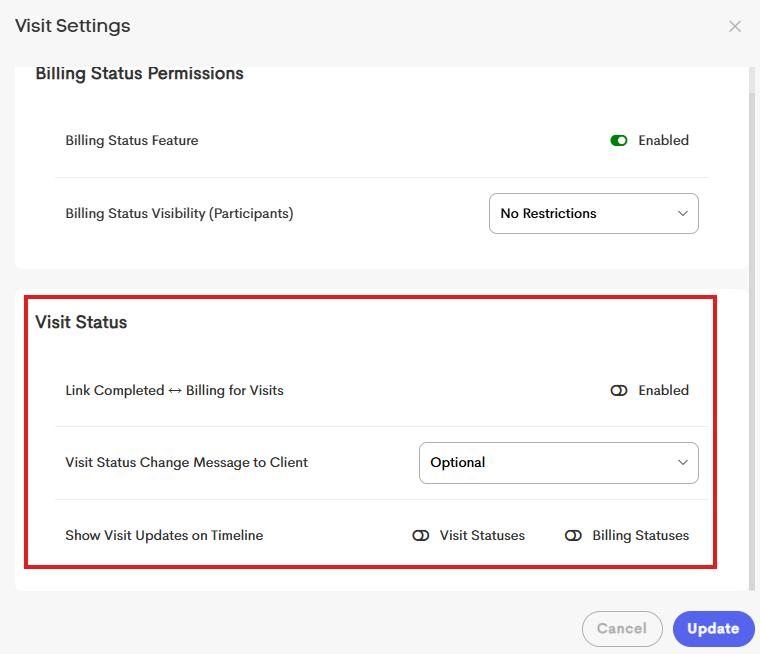
- Link Completed ↔ Billing: Automatically sync visit and billing statuses:
- Forward Link (Completed → Ready): Marking a visit as Completed automatically updates billing to Ready
-
Reverse Link (Billing → Completed): Updating billing beyond Unbilled automatically marks the visit as Completed
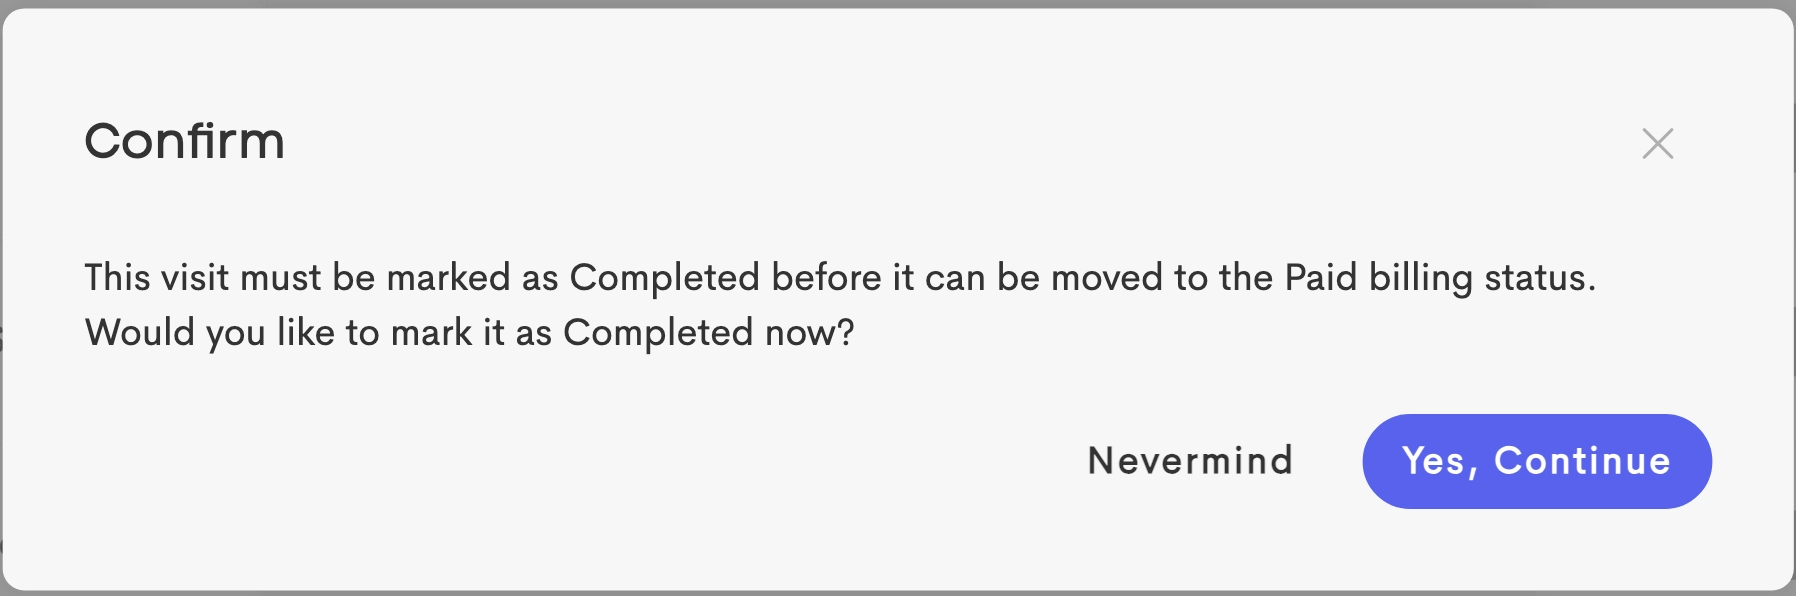
Visits marked as Not Billable are excluded from this linking behavior regardless of this setting.
-
Visit Status Change Message to Client: Control when a message to the client is required during visit status changes.
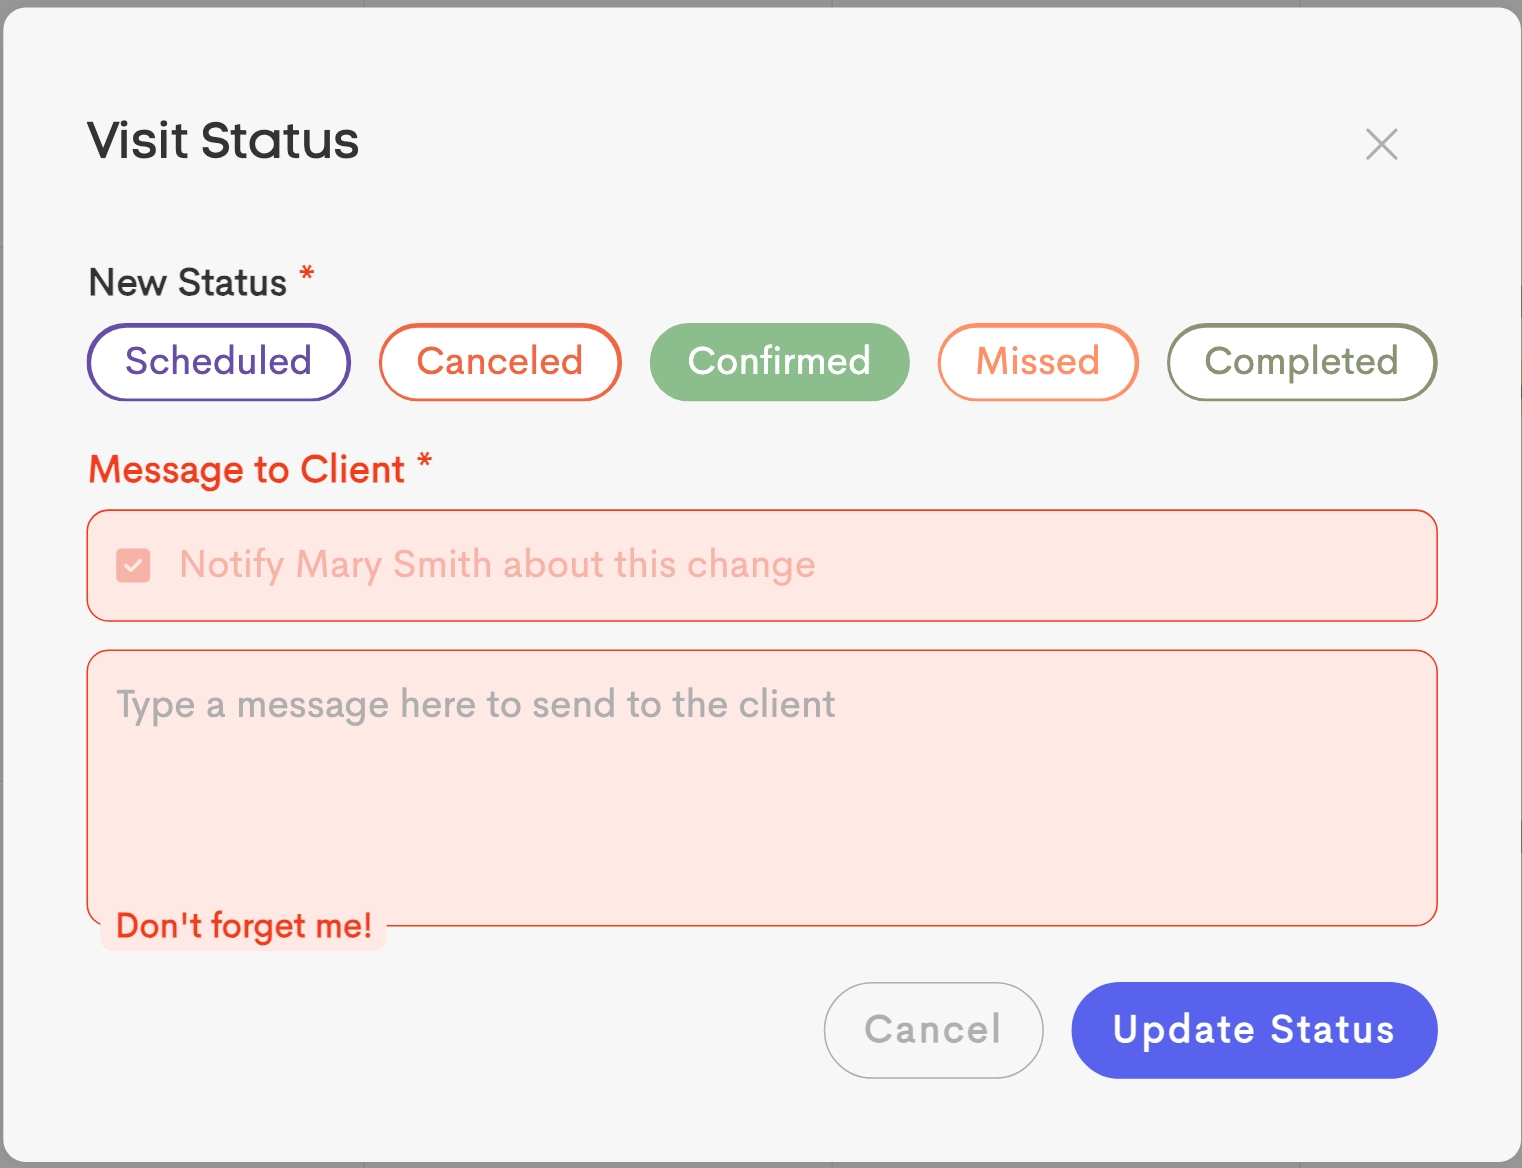
The message field becomes required. This message is added onto the email sent to the client. - Optional: Message is available but not required
- Required for Canceled & Confirmed: Required only for these statuses
- Required for All Statuses: Required for every status change
-
Show Visit Updates on Timeline: Choose which visit updates appear in the client timeline.
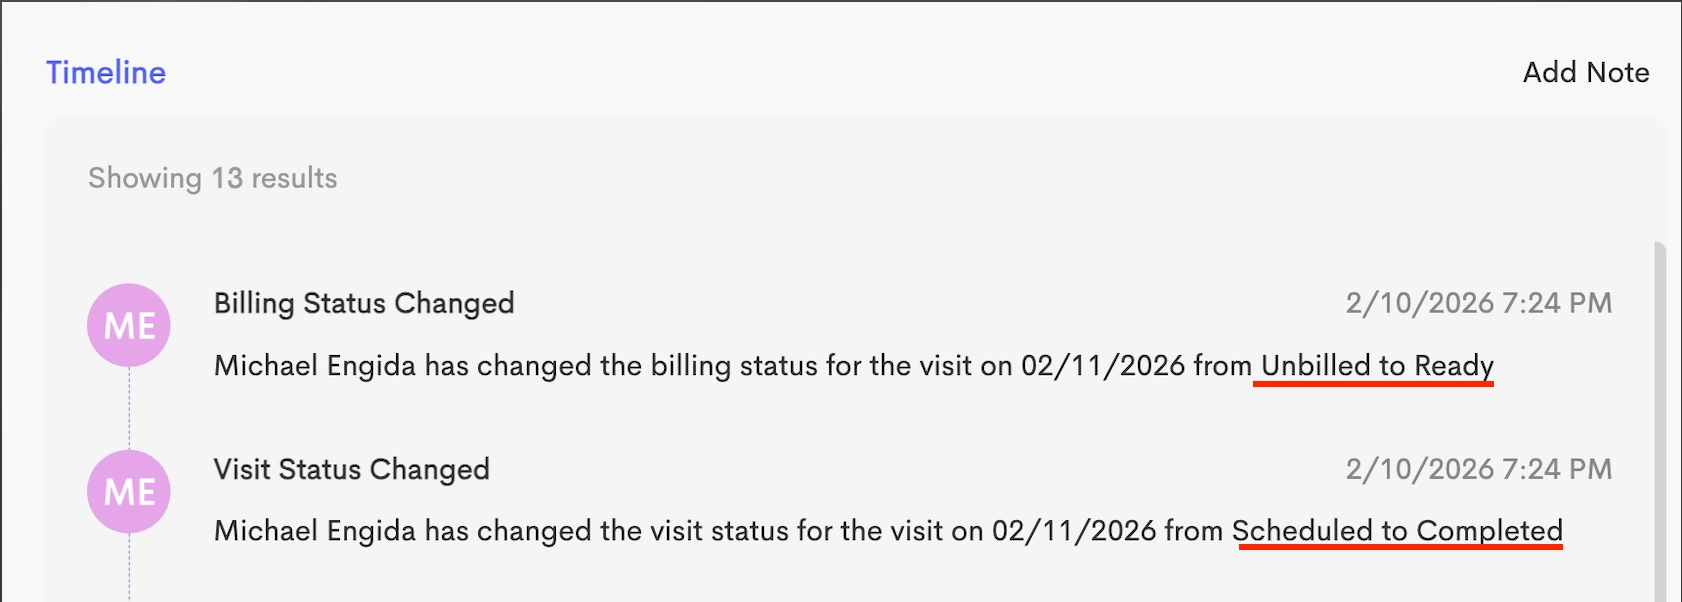
- Visit Statuses: Shows appointment status changes
- Billing Statuses: Shows billing status updates
- Click on Update to save your changes.


