
Using the Directory
The Network Directory allows you to create and manage profiles for your team while keeping everything organized in one place.
With flexible filters and search options, you can quickly find and work with the profiles you need.
Creating & Managing Profiles
You can create and manage network profiles for your team in two simple ways:
Create Individually
- Go to the User Menu on the upper-right corner.
- Select a Team Name under the Switch Team section.
-
In the Manage Team window, go to the Members tab.

- Select a contact to create a network profile for.

Bulk Import
-
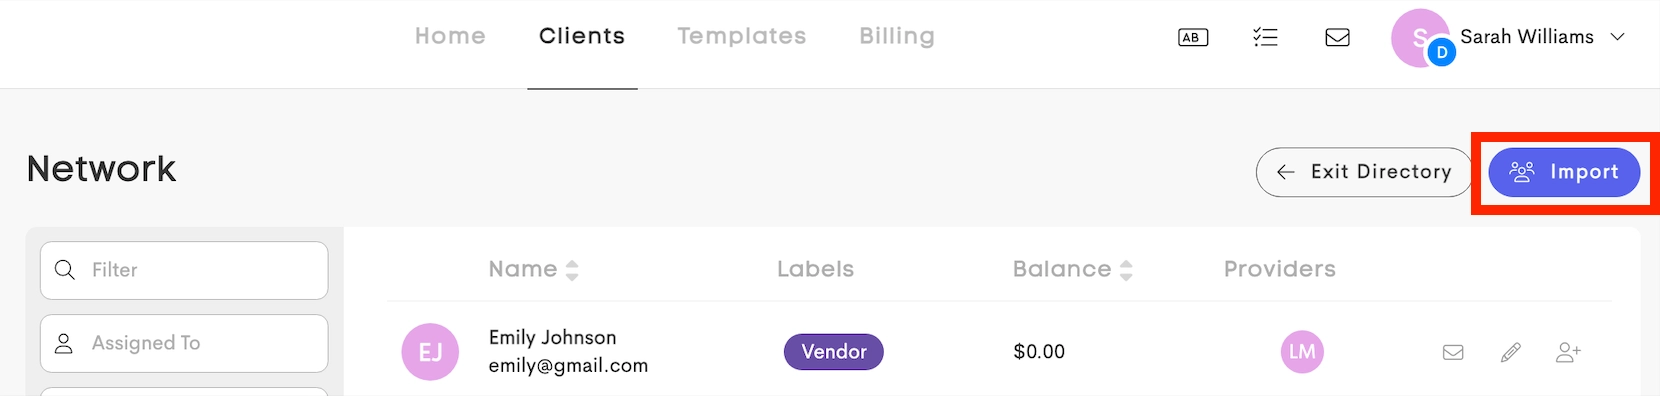
Go to the Clients tab, choose Network from the side menu, and click on Directory.

-
Click on Import to select all (or choose specific ones) and generate their profiles in a single batch.


- The list automatically detects and displays all team members who do not yet have a network profile.
-
You can select specific members and assign labels or custom field values (like Language) directly in the import window.
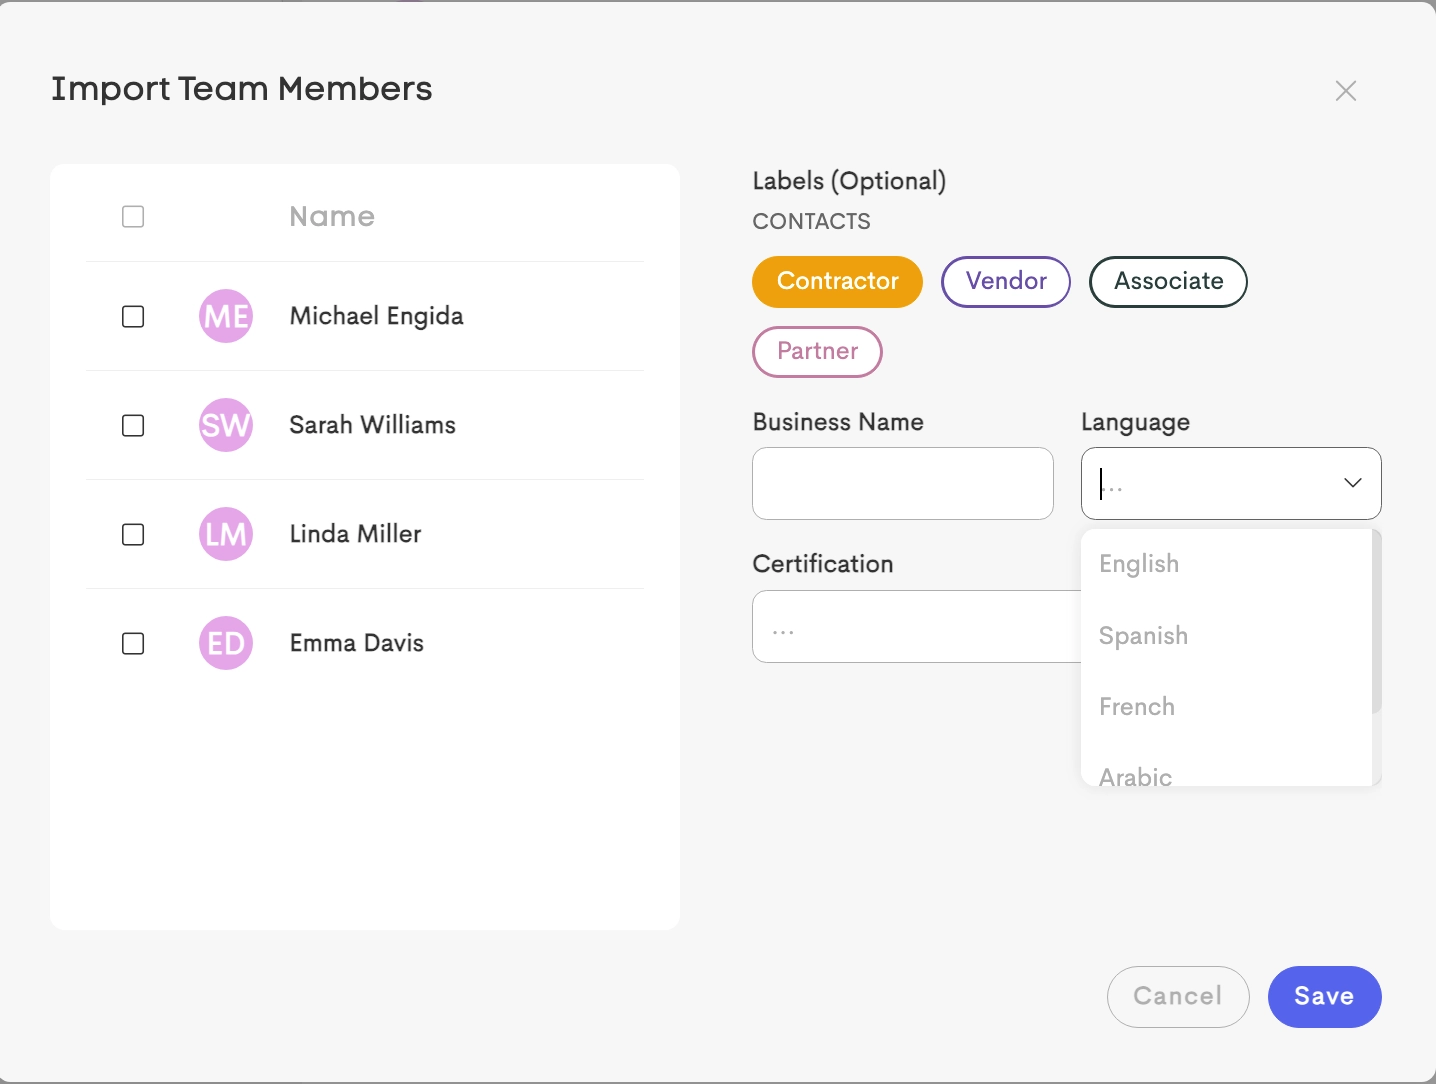

Profiles are created automatically with the selected details applied.
Filtering & Search
The Directory makes it easy to quickly find the profiles you need using flexible filtering options.
You can apply multiple filters at the same time using the sidebar to narrow down results.
Standard Filters

- Search: Find profiles by first name, last name, email, city, or profile ID
- Assigned To: Filter profiles by the team member managing that connection
- Labels: Filter the list by specific labels added to their profiles
Dynamic Custom Filters
- Any custom fields you’ve added (such as Language) under a Network Label Group will automatically appear as filters in the Directory.
|
|
|


- If the field has preset options, you’ll see a dropdown to choose from.
- If not, you can type in a value manually.
|
|
|


As soon as you select or enter a value, the list updates instantly to show matching profiles.