
Creating, Editing & Deleting Events
Table of Contents
- Creating Events
- Duplicating an Event
- Overlap and Conflict Alerts
- Editing Events
- Rescheduling (Drag-and-Drop)
- Deleting Events
Creating Events
You can quickly schedule new events without leaving the calendar.
-
Click on any empty space on the calendar, or click on the + New Event button
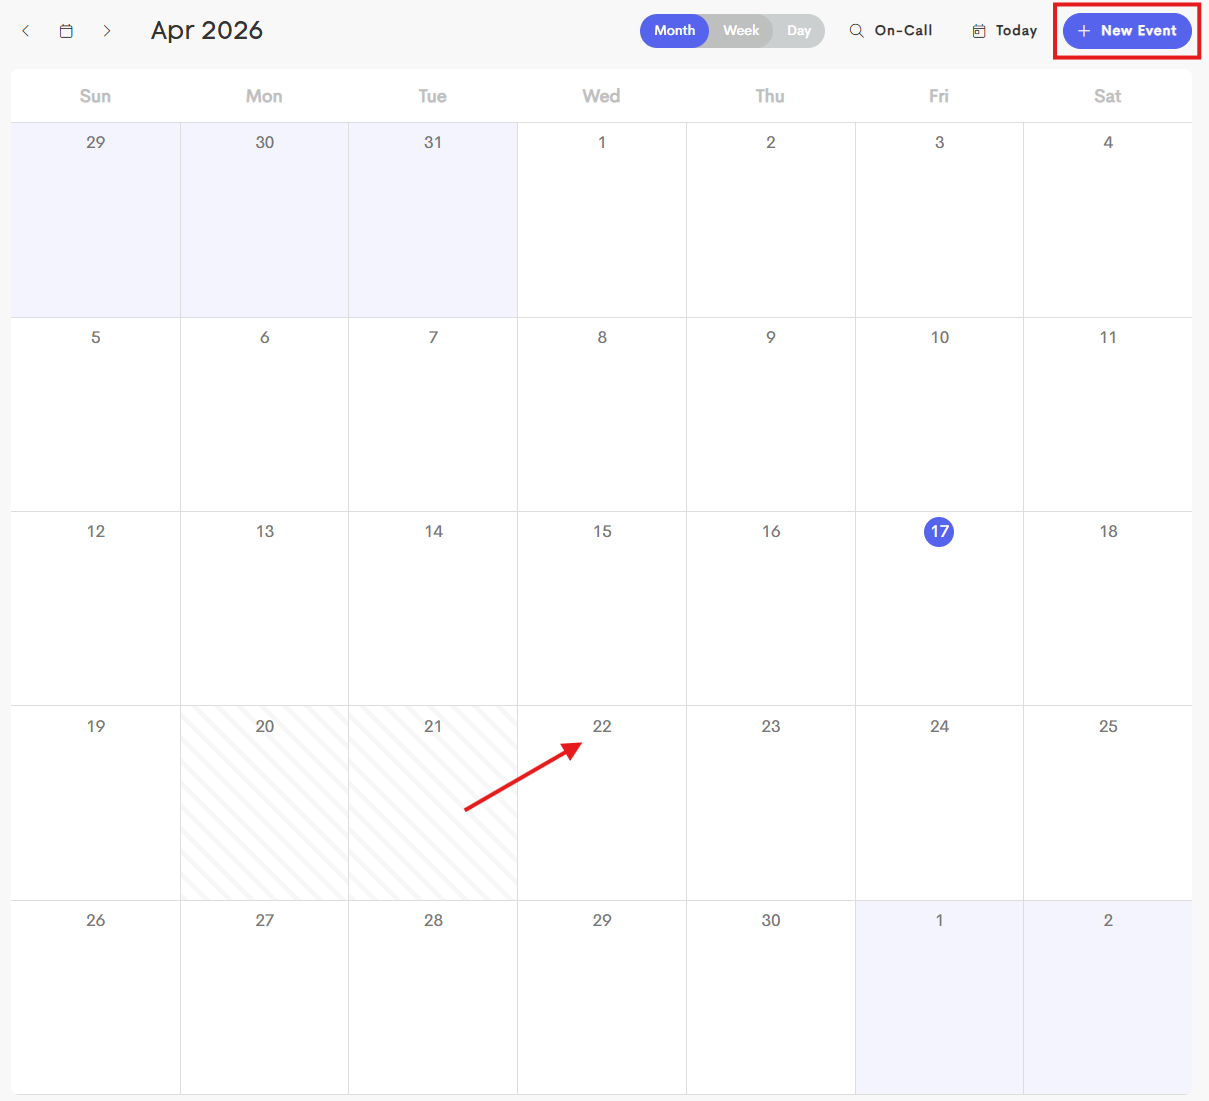

- If you click directly on the calendar, the date and time will be pre-filled based on where you clicked
- If you use + New Event, the event will default to the current date and time
You can also create an event from a client’s profile by going to their Journey → Visits tab and clicking “+ Log Visit”.
Filling Out the New Event Modal

- Preset: Select an appointment preset (e.g., "Postnatal Visit") to automatically fill in the duration and description.
- Title: Enter a name for this event.
- Provider: Select which team member will handle the appointment.
- Status:
- Busy: Blocks the entered event time on a doula's calendar and prevent it from being booked.
- Free: Keeps the time open for other appointments.
- Clients: Search for and add one or more clients to the event.
- Location:
-
Meeting Link: Check the box so that you can enter a virtual meeting URL (e.g., Zoom, Google Meet).

- Address: Enter a physical location for in-person visits or you can choose from a client's saved address or recent locations
-
- Start Date & Time: Set when the event begins.
- End Date & Time: Set when the event ends. You will be alerted if these are set out of order.

When logging a visit, you can leave the End Time blank to use a timer for more accurate tracking.
- Click Start Timer when the visit begins
- Click Stop Timer when the visit ends
The start and end dates and times will be set automatically for you.


- Notifications: Enable Notify the client(s) to send an email as soon as the event is saved
-
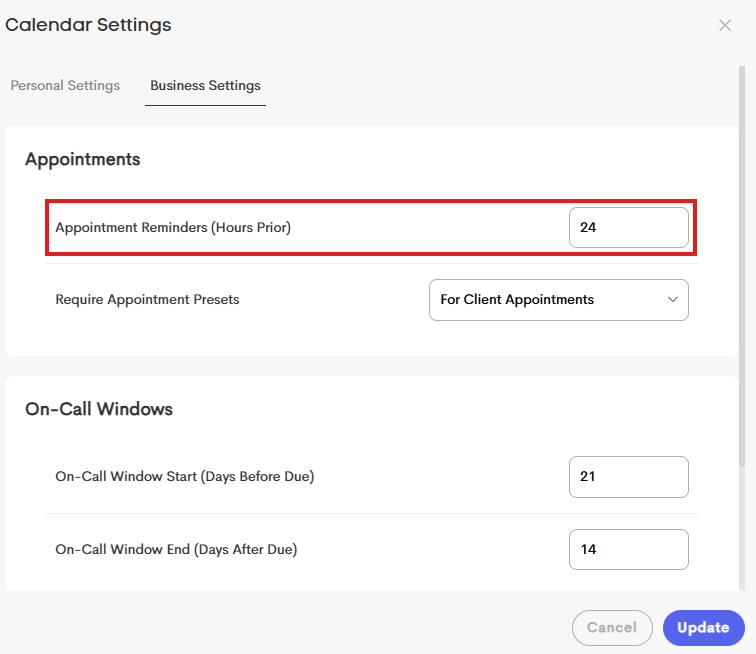
Reminders: You can specify how long before an event a reminder is set in the Events and Calendar Settings.
- Send reminders to client(s): Sends an automated reminder to the client(s).
- Send reminders to provider(s): Sends a reminder to the assigned doula(s).
- Description: Add notes or details about the event.

Duplicating an Event
To copy an existing event or set up a recurring schedule:
- Click the event on the calendar to open its summary.
- Click the Duplicate (copy icon) in the top-right corner.

A Duplicate Event window will open, where you can choose how the event should be repeated for future dates.

- Start Date: Choose when the duplicated event should start.
- Repeat Every: Set how often to the event repeats (Weekly, Monthly, or Yearly).
- Repeat On: Choose the specific days of the week the event should occur.
- End Date: Set when the repeated events should stop. This detail is required if a limit is not set.
- Limit: Set how many times the event should be repeated. This detail is required if an end date is not set.
- Enable the Notify the client(s) option to send emails for the duplicated events.
Overlap and Conflict Alerts
Doulado automatically checks for scheduling conflicts as you save an Event:
-
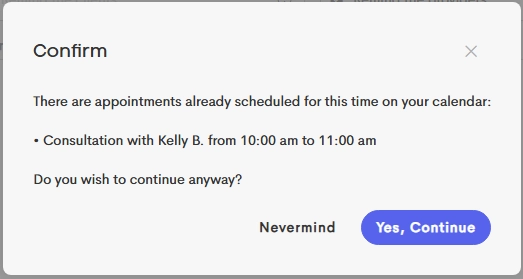
Overlapping Appointments: If you schedule a Busy event over another existing appointment, you’ll see a warning with the conflicting events and can choose whether to proceed.
- Unavailability (Absences): If an event falls within a time you've previously marked as Unavailable (via the Availability settings), you will receive an alert before proceeding.

Editing Events
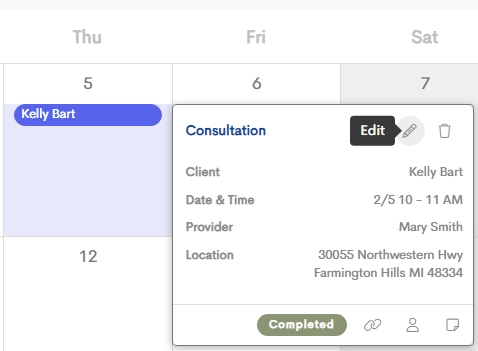
To edit an existing event's details (like description, location, or provider):
- Choose an event on the calendar to modify.
-
Click the Edit icon to make changes.
- The Edit Event window will open so that you can modify the previously filled out information.
- Click on Save once you're done.

Rescheduling (Drag-and-Drop)
For quick adjustments, you can reschedule events using your mouse:
- Click and hold an event from the calendar.
- Drag it to a new day or a different time slot.
-
Release to save the new time. A Move Event window will open.
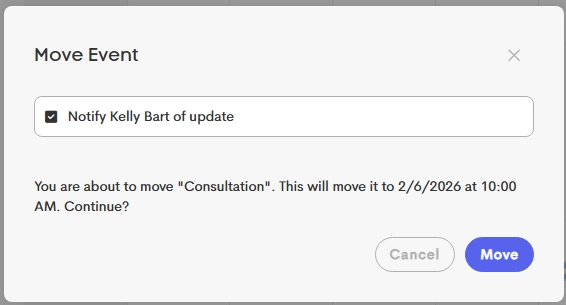
- Enable the Notify client of update option to send an email about the change immediately upon saving.

Deleting Events
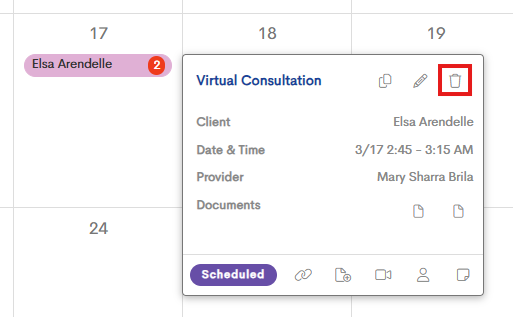
- Click an event to open its summary.
-
Click the Delete button.
-
Choose whether to notify the client and check the box accordingly.
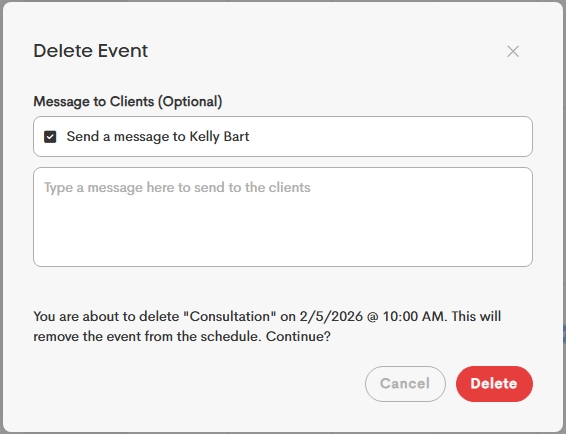
- You can optionally enter a message that is sent along with the email or leave it blank to send the default notification email.
- Click on Delete to proceed with the removal of the appointment from your bookings and calendar.

