
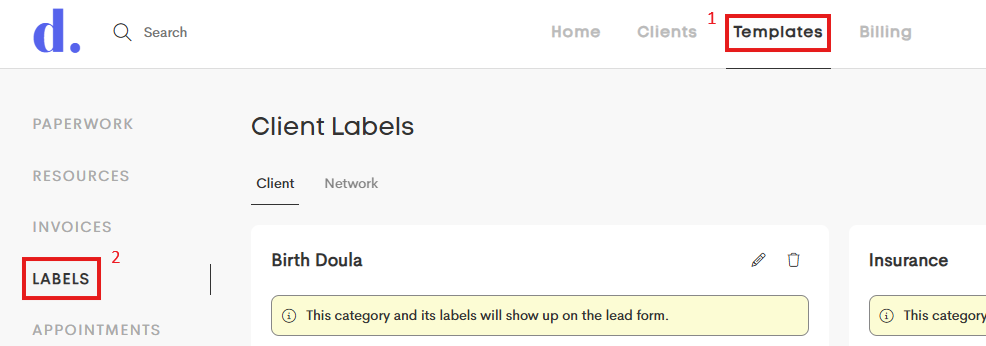
Setting Up Labels, Form Fields, and Groups
To get started, navigate to Templates > Labels. This is where you can create and manage labels, form fields, and groups to keep your services organized.
Creating a New Group
-
Click + New Group.

-
Add a Name to that group category.

- Select the appropriate Service Area.
- If you do not select a service area, those labels will not appear as options to add to a lead form.
- If you want a Client to able to assign a label to themselves through a lead form, select the appropriate service area type.
- If these labels are only for internal use, and will be manually added to a profile as needed, no service area type is needed!
- If you do not select a service area, those labels will not appear as options to add to a lead form.
- Click Save.


Adding a New Label
- Click + New in the category you are working in to add another label.

- Enter the label name.
- Choose a color for easy identification.

You can also edit existing labels by clicking on them to edit the name and/or color.
Creating a New Form Field
- Click + New in the category you are working in.
- Enter the field name (ex. Provider Name, Birth Location, Emergency contact, etc.)
- Each label category can have different form fields attached to that category. You may want to have different custom fields populate in a profile depending on their label (service type).

If you’d like to include a dropdown menu for this field, enter the options in the Optional Preset box, listing each option separately. See the example below:
