
Inviting a Client to a Portal and Enabling Access
You can decide when you'd like to invite a client to the portal depending on your preference.
Most doulas choose to invite their clients to the portal once they are officially moving forward with that client; whether that is after contract signing, or after a successful consultation.
Enabling Portal access requires the client to have a valid email address
There are two ways you can send a client portal invite based on client the client type: Primary or Non-Primary (Contacts).
Primary Clients
If you're manually entering a Client Profile, you have the option to invite them on Page 2 of the New Client modal.

Choosing the Send a portal invite now option will automatically send the welcome email to your Client upon saving.
If you didn't opt for this choice when adding a Client, you can enable this from your Client's profile page. Follow these steps:
- Go to a Client Profile.
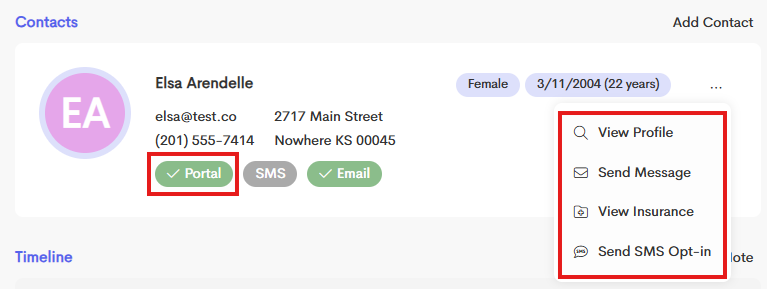
- In the Contacts Card, click on the Overflow menu and choose Enable Client Portal.

-
The client will receive an email to create their account.


This is the default message sent to clients when invite to their portal.
- This notification can be customized in your Templates > Notifications section under Other Activity.
If they click the button, it will bring them to the account onboarding link assigned to their journey!
- If the client loses the email, you can go back in and enable client portal again.
-
Once their client portal is created, the enable client portal will disappear from that menu.

After a client creates their account via an email link from the doula, they can also login at app.doulado.co.
Before they are officially invited to their client portal, they will not be able to login to Doulado.
Non-Primary Clients
Secondary clients, such as partners, family members, or other individuals, require special authorization before gaining portal access. Contacts can be added via:
-
Directly granting them access when adding the Primary Client
The Add Contact button from an Existing Client
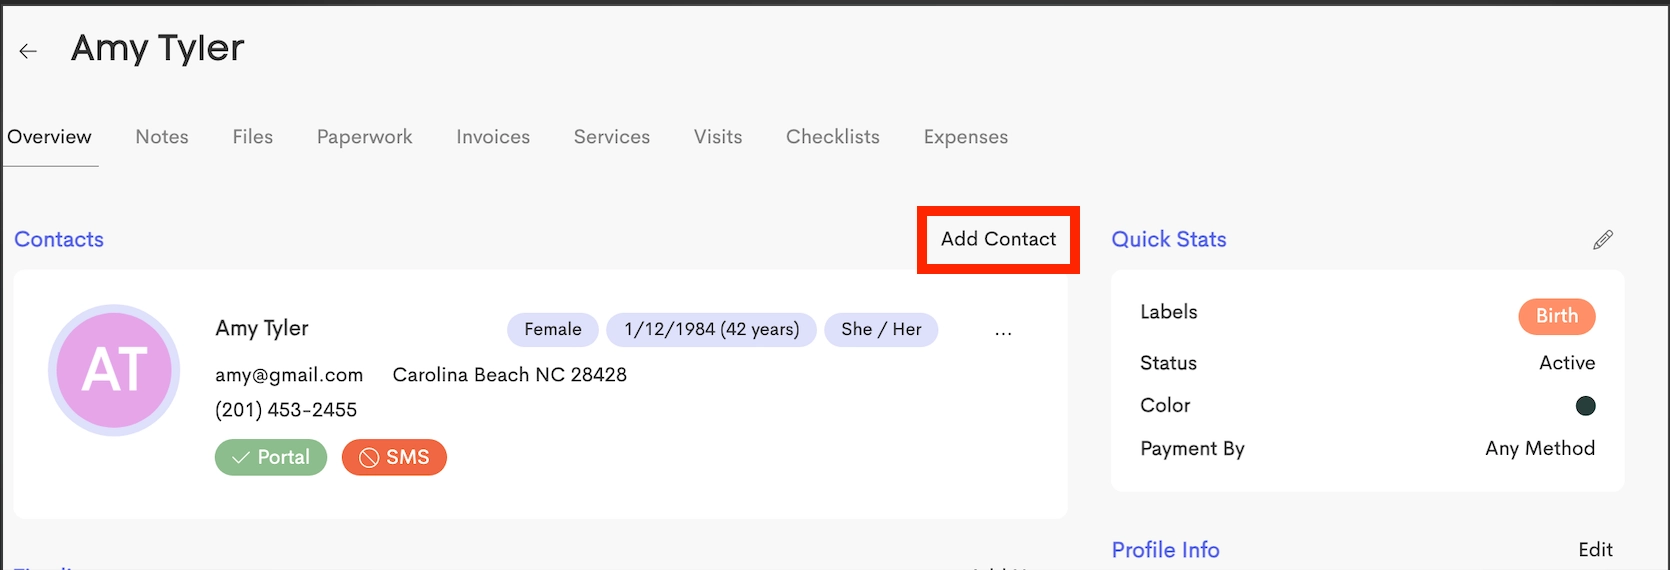
-
Find the option to send invite to the Client Portal on Page 3.
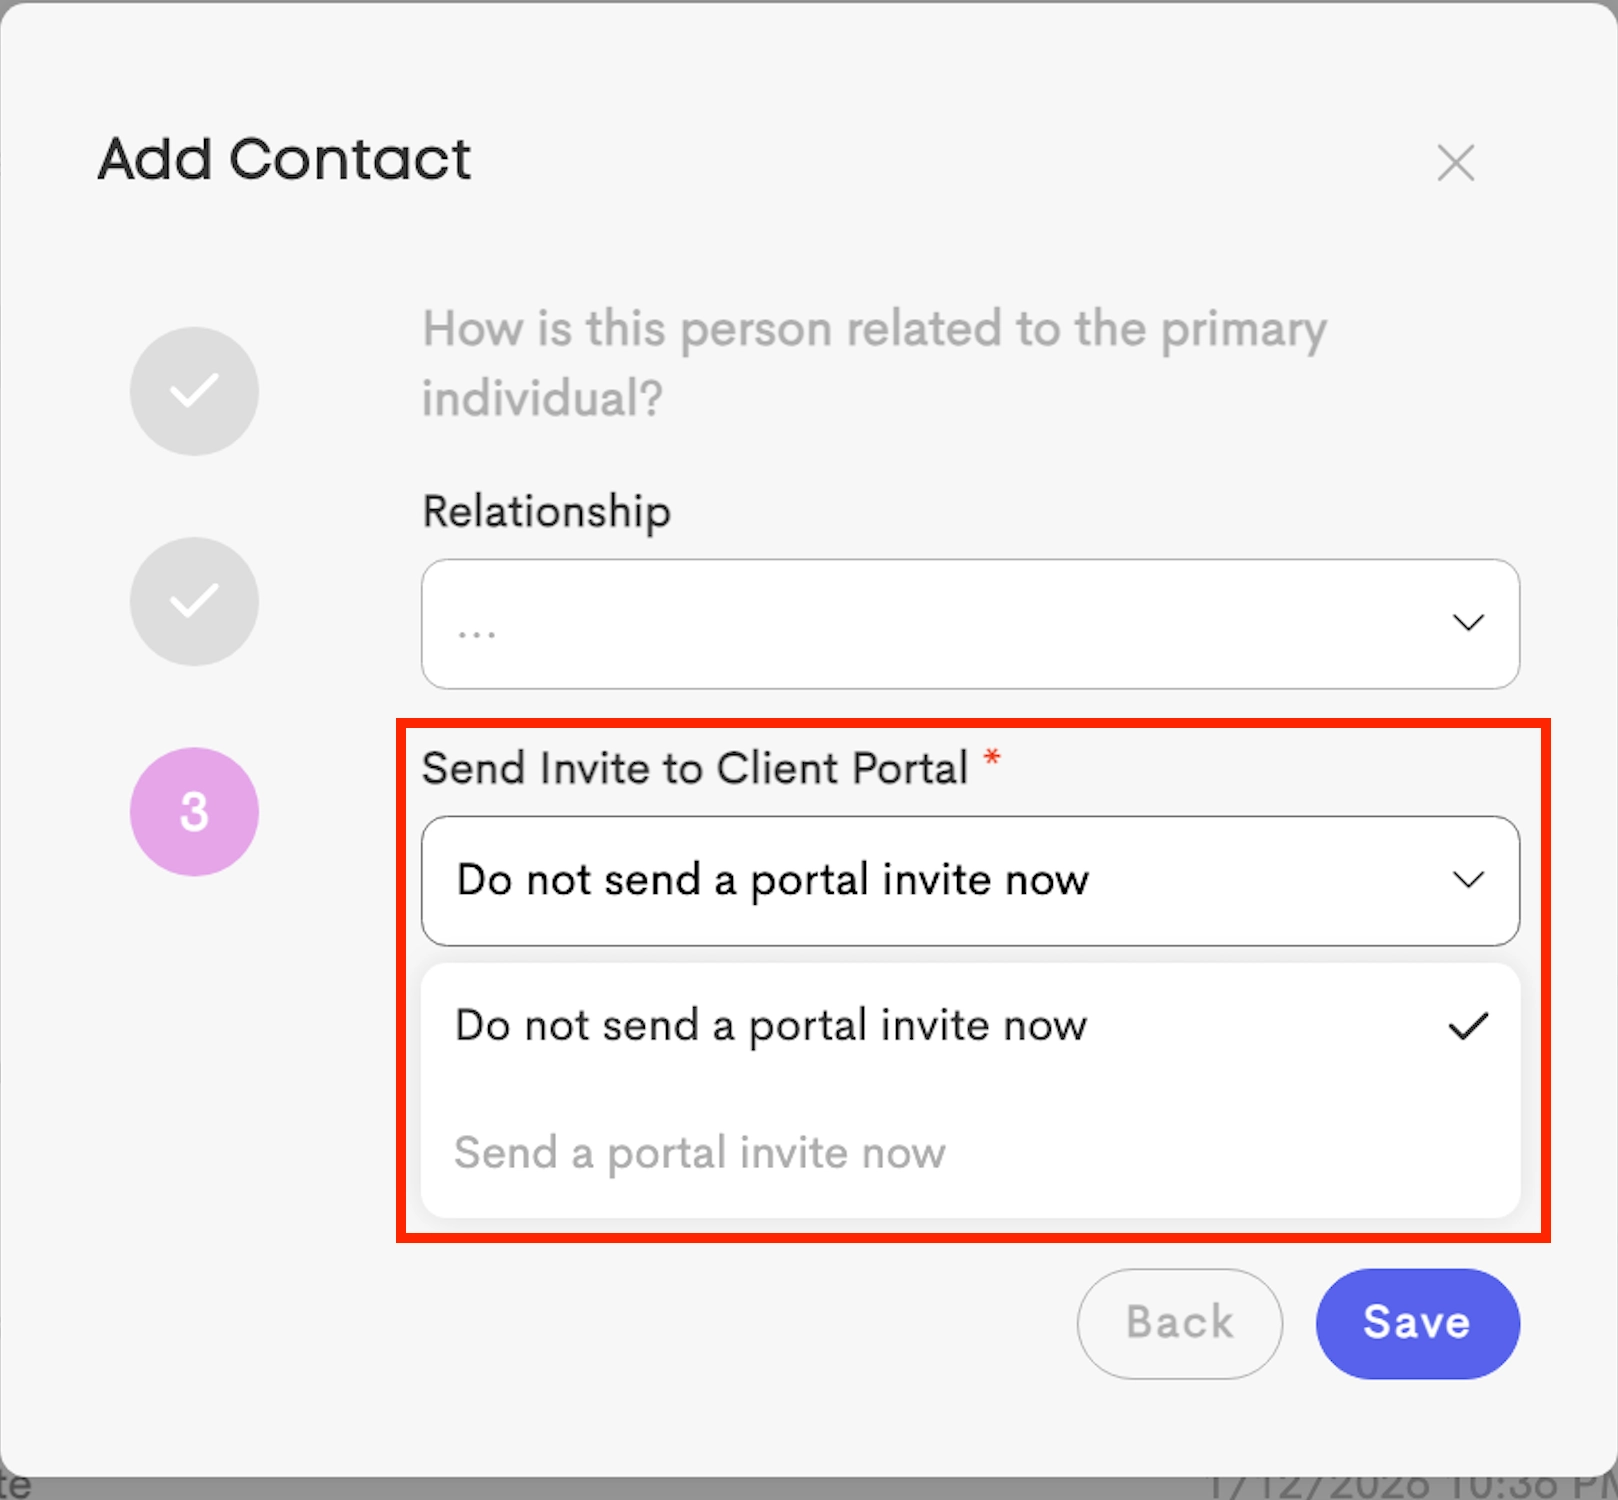
-


When enabling portal access for a Non-Primary Client, the Primary Client is sent an authorization form that they must review and sign, it outlines exactly what information will be shared.


Portal Status
The portal pill is marked green (approved) on the Client's Contact Card when they have onboarded and the authorization form is signed.

Default Global Invitation
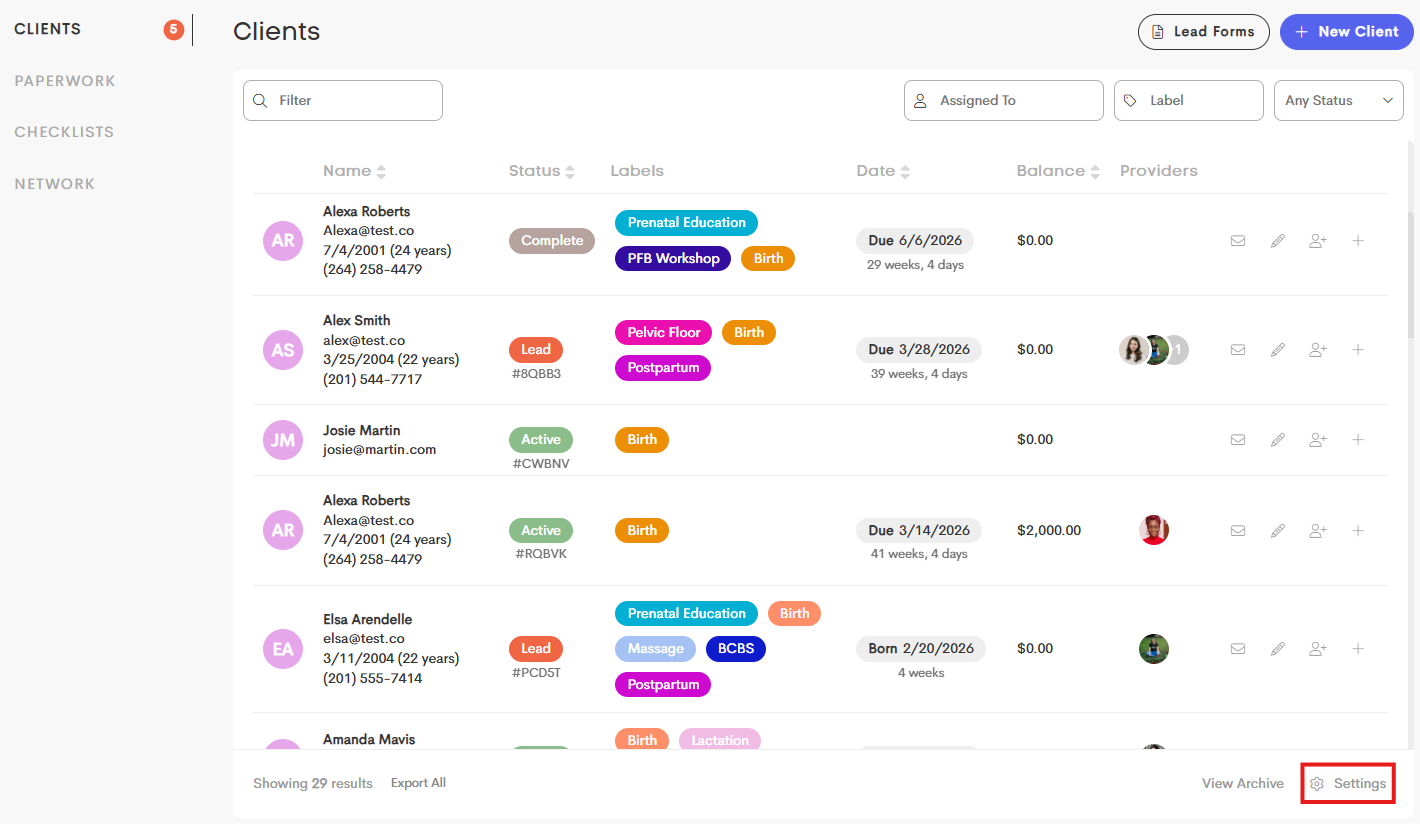
You can set a default option to either always send a Portal Invite in the Client Settings.
-
Go to your Clients List and click on Settings at the bottom-right of the screen.
-
Toggle the Portal Invite to make this the default setting for businesses.
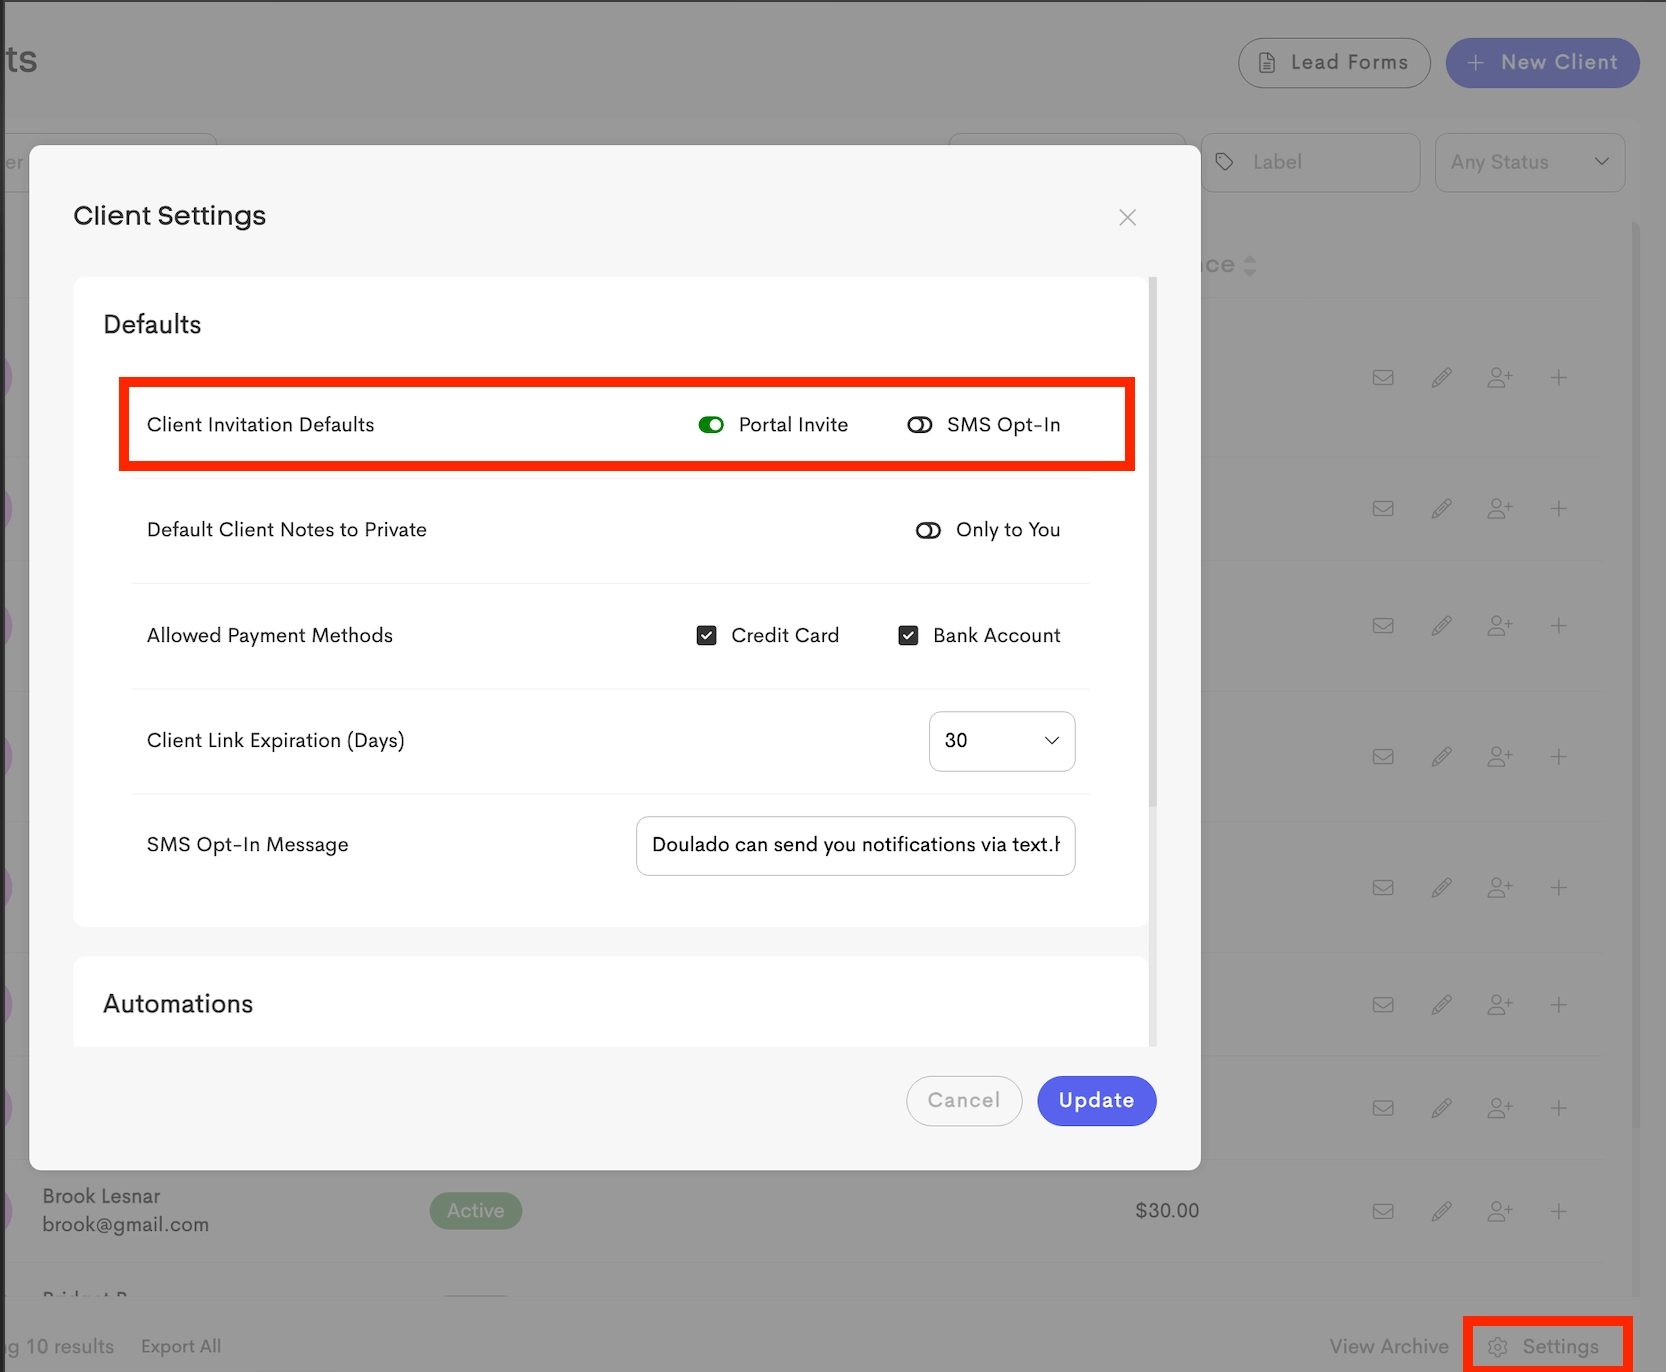
This setting applies to Portal Invitation creation of both Primary Clients and Non-Primary Contacts.

