
Starting a Paperwork from a Visit
If you use Appointment Presets when creating calendar events, you may notice that paperwork can be linked to specific visit types.
Whether the appointment is booked through your Booking Page or scheduled manually using a preset, the linked documents will automatically attach to the visit.
At this time, attached paperwork is not automatically sent to the client. Instead, it serves as a reminder that the documents still need to be completed or shared.

Logging a Visit Using a Preset
To ensure the correct paperwork is attached to a visit, make sure to select an option from the Appointment Preset dropdown when scheduling instead of manually typing the visit name.
Using presets helps keep appointment names consistent across your team, making visits easier to organize and track. After the visit is saved, any linked paperwork will appear in the visit details and visit log.

Follow these steps to log a visit by using a preset:
-
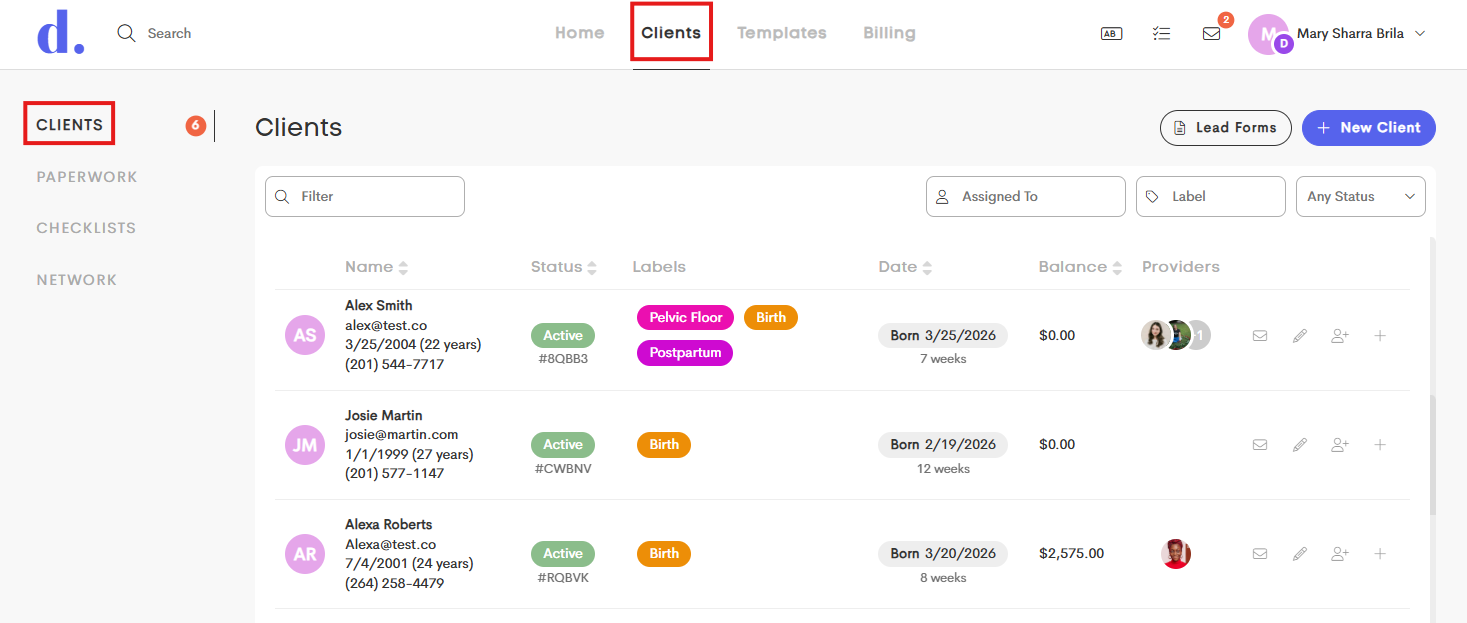
Choose a client to log a visit for by navigating to the Clients main tab and choosing the Client List side menu.
-
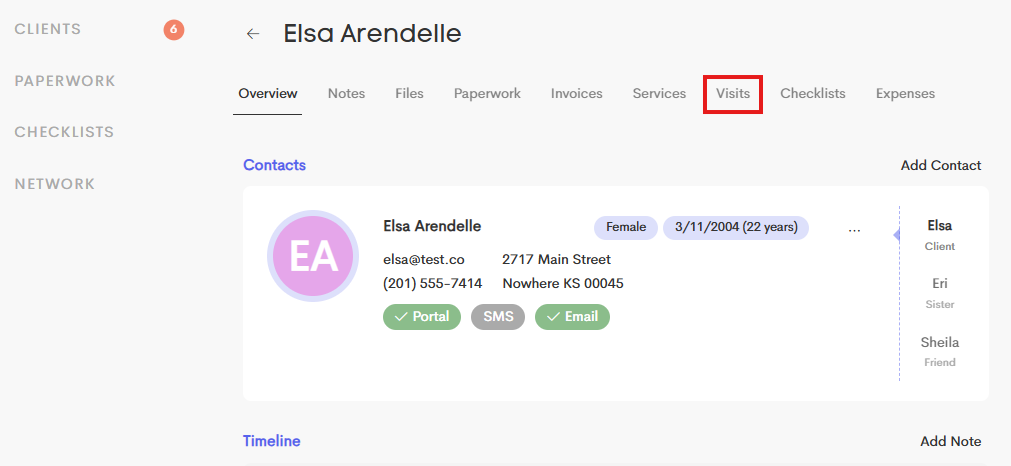
In the Client Journey, go to the Visits tab.
-
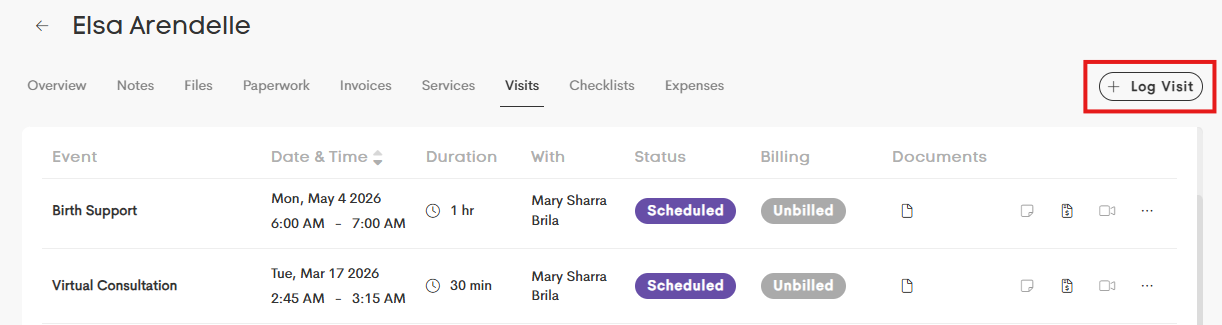
Click on the + Log Visit button.
-
In the Add Event modal, choose an Appointment Preset to populate the related fields. This also ensures that the necessary paperwork for the visit is in place.
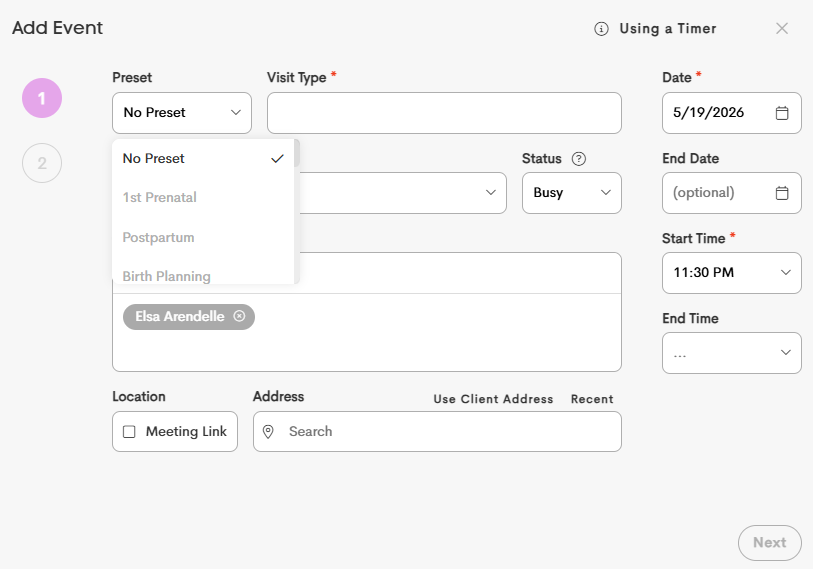
- Fill out the rest of the needed fields and click Save once you're done.
-
The new visit will now be displayed in the list, along with the paperwork related to the Appointment Preset you chose.
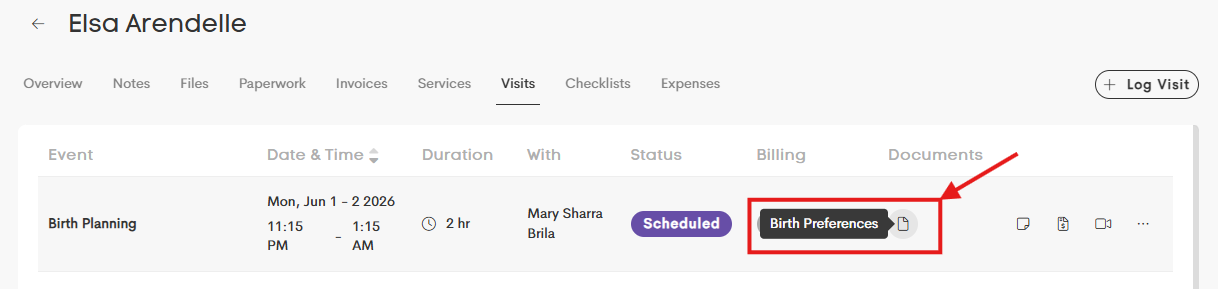


Visit Log View
When viewing the visit log from either the Billing section or within a client’s profile, document icons indicate that there is paperwork still needing completion by either the provider or the client.
The paperwork is not automatically sent, but you can click the document directly from the visit log or calendar event to begin the sending or completion process.

Linked Document Stages
From the Visits dashboard, you can see the status of the documents based on their icons.

Main Calendar View

In the main calendar view, a red notification bubble on an event indicates how many linked documents still need to be completed.
Clicking the event will open the Visit Summary, where you can start or send the paperwork directly.

If you are completing the form yourself, you can fill out the document fields and choose whether or not the completed form is visible to the client.

If the client needs to complete the form, you can pre-fill any necessary information and choose your preferred sending option.
Once all required paperwork has been completed, the red notification bubble will automatically disappear.
Starting Paperwork From a Visit

If a similar form has already been started or completed within the client’s profile, you may see options to continue an existing draft, link a completed form, or start a new one.
For Example:
If each prenatal visit requires a new prenatal visit form, you would choose to start a new form. If a consent form has already been completed by the client, you can simply link the completed form instead of sending a new one.
Paperwork Required to Complete
When a paperwork is attached to a visit, it indicates that the required forms must be completed before the visit can be set to Completed.
If someone tries to change the visit status before all required paperwork is finished, Doulado will display a reminder that there may still be incomplete forms needing attention.
