
April 2025
Welcome to this month’s roundup of the latest updates, and new developments from across Doulado. This month includes a mix of updates to current features, as well as some totally new additions such as SMS Notifications and Insurance eligibility checks! We are so excited for our new feature rollouts and important updates to existing features based on your feedback. We hope these additions continue to streamline your process, and increase the ease of your workflow with clients!
Here’s everything you need to know about April's additions:
#1 Calendars & Invoices
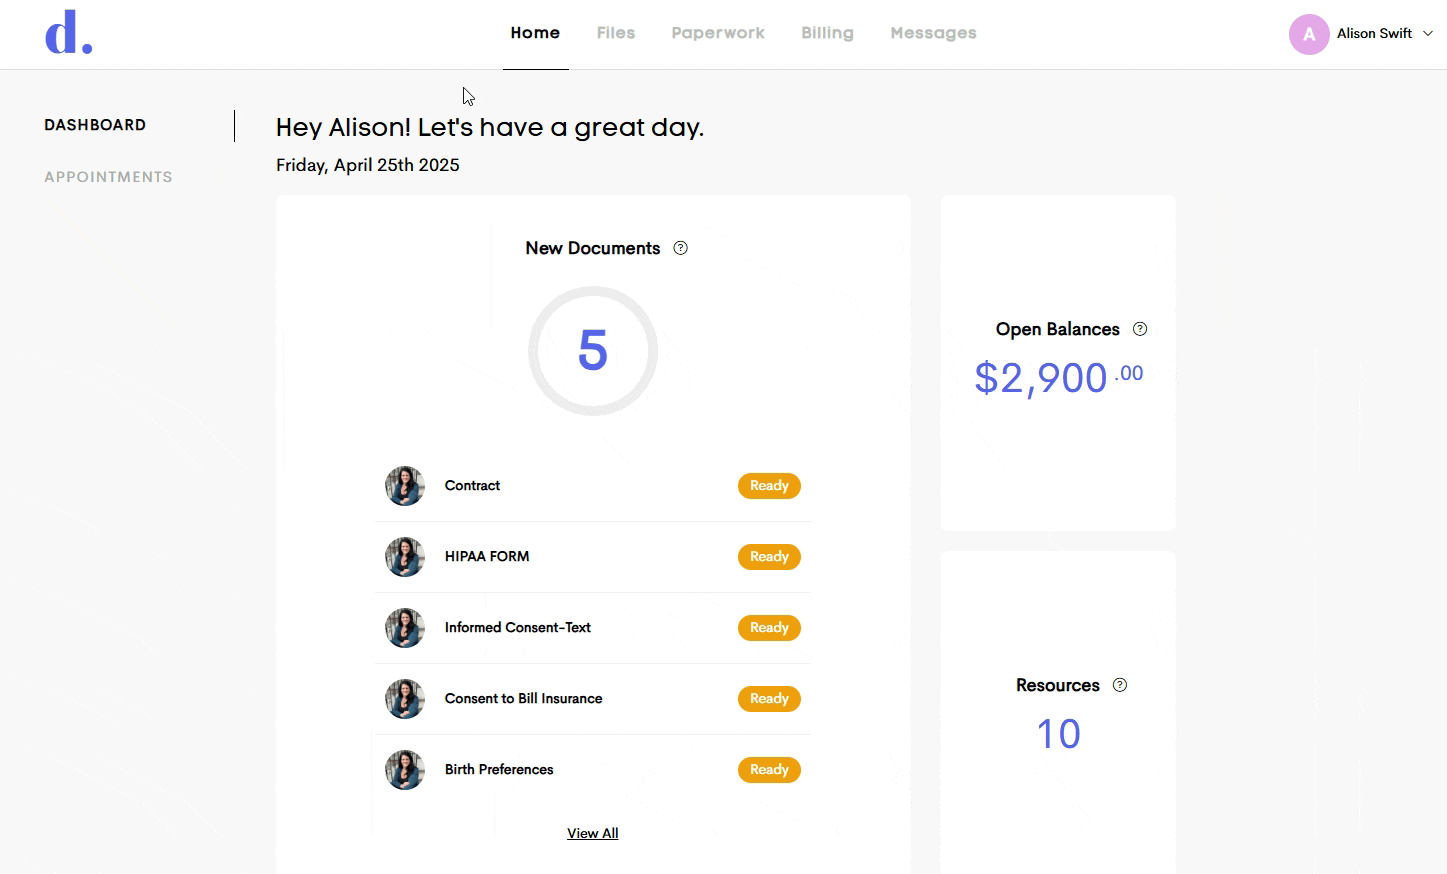
- Add charges to partially paid invoice: Invoices have been updated to include the ability to add additional charges and services even if the client has approved, or partially paid the invoice. This change allows all services to be recorded on a single invoice making invoice management and client reimbursement easier than before.
- "Recent" address in event creation: Adding a location when creating an event has become more convenient with the implementation of "recent" location addresses. When adding the location to an event, you now have the option to use that client's recent appointment locations. This avoids having to manually enter commonly used addresses each time, if you are meeting at another location besides their home address!

- Filters to invoices and payments: A new date filter has been added to both the Invoices tab and the Payments tab under Billing, in order to search each section during a certain date range. Additionally, there is now a search bar on the Payments tab to be able to filter payments by client name or invoice number.
-
- Default for event reminders on: Event reminders are now set as on by default for all new client events. Regardless of creating the event in the client profile or from the calendar, events will send clients reminders by default unless changed by the doula. This will not affect events that are scheduled in the past. If you are adding a past event to your calendar, and have the notifications on, you will receive a confirmation that you want to send those alerts to client.


If you would not like "notify" or "remind" the client of the event, be sure to uncheck these boxes so that no notifications are sent for this event!
#2 Administrative changes
- More customizable notifications: We added the ability to customize the email (and text message!!) notifications that are sent to clients when inviting them to the portal, and when they receive a new "message"! You can find those under "other activity" in your Templates>Notifications section. These email notifications can be customized with formatting, fonts, inserted data and your own personal message!

- Timeline scroll: The timeline was previously condensed when all client information was added to the profile section above such as address, phone number, birthdate, etc. The client contact information is more condensed, with the little 3 dots giving you access to view their profile, start a new message, send invites and more! Now, the timeline gets a better amount of space on your screen, and has a designated scroll bar to allow you to scroll through the history of notes for that client's journey.

- Combining document/form templates: This adjustment combines your document templates and your form templates to provide a more neat way of organizing your paperwork. These templates can now be found under the Paperwork Template page with their own dedicated tabs.

- Re-send email notifications: Previously, reminding clients about paperwork or invoices created another "Document Ready" or "New Invoice Ready" email sent to the client despite the client it being a "reminder". To avoid confusion, we adjusted the email notifications to be sent as reminders rather than new invoices and documents. You can choose "re-send" next to an invoice or sent paperwork to send a reminder email, and that email message can be edited in your Templates>Notifications section.
- Note templates in client "Notes": Creating client notes just became easier by the addition of note templates! Similar to a template you can create and save with visit notes, and messages, now when creating a new note, you now have the option of selecting a note template to start off with or accessing "recently used" text with that client!

- Removed "sex" from client onboard: When a client is creating their Doulado account after being invited to the portal, the "sex" question has been removed from the onboarding process. When their account is created, they can add additional information such as sex and pronouns into their profile if they want. The doula can also add/edit their profile fields based on the client's information as well!
- Funds balance: We're introducing a "funds balance" in order to carry a balance to pay for fee-based features within Doulado such as submitting claims, and checking insurance eligibility. Owners of a team, or solo doulas can see their business balance for the highlighted team they are on within the main menu, as well as the new claims dashboard! By selecting your balance in the main menu shown below, you will see a deposit history, and be able to add more funds. Fee based features will only be allowed to be completed when there are enough funds in your account to cover the cost.

If you are not currently submitting claims or interested in eligibility verification through Doulado, you will not need to carry a funds balance at this time!
- Settings for Client profiles: In order to provide more flexibility in the way you'd prefer to have your default settings for certain things, we have added a "Settings" area at the bottom of the client list. Pictured below are the client settings from a team owner's view. On a solo plan, the default client notes to private option has less option. Below, we will discuss what each default option affects within your account!

- Client invitations: Allows you to select the default for portal invite and SMS opt-in when manually adding a new client. Previously, the options for portal invites and SMS opt-in was set to send clients these requests as default. Now you can toggle your invitation defaults to what you prefer so that it will be automatically set when adding new clients. The picture above has those invitations to be "on" by default. If you'd like to set the default to not send those when adding a new client, you can toggle those off. You can change these invitations per client still by selecting the dropdown box and selecting "Send a portal invite now" for portal invites and "Request opt-in now" for SMS requests, but these settings will adjust your default account (or team) wide!

- Default client notes to private: For a team, you can select the default "visibility" for a note to save for each team member level. For example, if you want to make sure that any note added to a client profile by any owner on your team is set to be "only visible to you and team owners" (private), then you can check the "owner" box! The individual visibility can still be changed within a note, but this adjusts the default setting! For a solo plan, you have the option to default to set the notes "only to you", which would hide them from any providers the profile is shared to.
- Auto-generate Client ID: To provide a more secure way to identify clients without using their names, we have implemented the option to have auto-generated Client IDs. This is a unique ID containing numbers and letter that can be used to filter the client list, or discuss HIPPA protected information by Client ID. To turn this for your account or team, go to the client list settings button and select your preferred length of the auto-generated client ID. This will affect any new clients added to your list, and not automatically generate IDs for existing client profiles.

When new clients are added after client ID is turned on, their ID will automatically generate as a "profile info" field. It will also appear on the main client list under the client's "status".
- Run eligibility checks: We have implemented an option to automatically check client insurance for eligibility. There are two situations where client insurance can be automatically checked if you decide to turn on this feature, by checking one or both boxes here. These situations are when new insurance or a new client is added, and a day before the event. If the verification failed, the provider's email will automatically be alerted of the issue. You can read more about eligibility checks in the "#5 Claims & Insurance additions" below!
#3 Team changes
- Document/Form template visibility: This new update allows a team owner to change the visibility for document and form templates, allowing certain templates to only be visible by team owners. When editing your templates, there is a new visibility box to check or uncheck! When that box is checked, contributors and participants on a team would not be able to view that template or send to clients.

If the document should also be private to owners after completed by a client, the "visible to other team members" in the sending options should be turned off as well.
- Booking page visibility: Similar to paperwork visibility, this allows a team owner to make certain booking pages private to the team owners. To change the visibility of an existing booking page, you can click the 3 little dots in the bottom right hand corner and select edit!

- Allow direct client messages: Within a team plan, you can edit the client message capability for any team owners or contributors on your team from within the manage team settings. When "Allow direct client messages" is checked, any client from within your team can message that provider. If permission is unchecked, a team client will not be able to initiate a new message with that doula/team member (unless they are assigned to that profile). This is designed so that clients have the ability to contact admin as well as their doula, if needed!

- Transfer paperwork ownership: Previously, within a Team account, documents were tied to the doula that started the paperwork. That paperwork could not be revised or filled out by another doula. Now, documents can be transferred to different team members to provide more flexibility for client care. When you transfer a document, you can also choose to transfer the ownership of your responses as well.

A use case for this may be 2 doulas on a team wanting to both sign a contract for a client. The template can have signature fields for both doulas, as well as the client. The 1st doula can start the contract, sign their half and then close out to leave as a draft. Then they can "transfer" that contract to the 2nd doula (do not need to "allow transferring your responses" here). The 2nd doula opens the contract, adds their signature and sends it to the client to complete!
Another use case may be 2 doulas signing paperwork related to a client if working together!
This transfer ownership of paperwork change does not effect solo plans.
- "Removed" from journey notification: Team owners now have the option of choosing whether to notify team members about them being removed from a journey. We added this option as a way to communicate better in the team environment.

If the box is checked, this is an example of the email notification the removed team member would receive.

#4 Checklist Improvements
- View task description: When adding a task to a checklist, you can add a description to explain its purpose and how to complete it. To be able to easily view the description, a details button has been added to each checklist so that the description can be toggled as seen or hidden as needed.

- Clickable links: To make navigation easier, now you can add clickable links to both the task name and task description. Merely typing out the whole URL like shown below will make the text into a link and bring you to an outside resource / website.
-
- Access to certain permission levels: Team owners can adjust the access for team member levels and their ability to view a checklist. Specify access for owners, contributors, and participants when creating a new checklist, or editing an existing one.


- Search filter on main checklist: A search filter has been added to top off the checklist so that you can search for specific clients assigned to a checklist. The rest of the clients will be hidden while the search filter is active.
#5 Claims & Insurance Additions
- NEW Claims dashboard: You now have the ability to add your specific payers into your account from our internal list, customize the payers' name, add covered services, and send an enrollment request! Within the dashboard, you can also view the current funds balance (balance required to submit claims and check insurance eligibility), and view the claims balance and payments tiles, that were previously on the main dashboard.

- Team claim settings: We have added a ability for team owners to decide which team member levels can see or interact with client claims. To view these options, go to the new settings button at the bottom of the claims page. You will see the claims permissions option which will provide you with option such as: Owners only, Contributors + (previous default), or Anyone (which would allow participants to be able to submit their own claims from the team!

- Claim remittance date filter: When going to export your claims remittances, we have added a date filter to allow you to only export remittance information from desired time periods.

- Exporting claims: We have added the option to export your claims list in order to track important aspects of claims submission for accounting purposes. You an export the claims list from the bottom left of the main list. The export should include the following columns:
- Claim ID
- Date
- Payer Name
- Client Name
- Status
- Total Charges
- Total Payments
- Balance (charges - payments)

- Storing client insurance information: We have created a new step in client creation which can store insurance information. One or more plans can now be added and stored in client profiles making insurance information easier to access. You can add their insurance information when manually creating their client profiles, from within their existing profile or add fields to a lead form to gather the details!


- Insurance on lead form: You can now collect insurance information on a client lead form in order to gather that at initial account creation! Navigate to your lead form, choose customize and add the insurance field. If it is required, they will need to enter the information in order to submit. You can map to primary or secondary insurance, and add 2 insurance fields to gather both. If you have checks automatically on, when they submit their lead form, it would check eligibility.

- Eligibility verifications: Once insurance information is added, you can set it up to automatically check their eligibility before a visit, or when they first create their account. There is also an option to manually verify. Each eligibility check will cost $1, which will be deducted from your funds balance. This fee will be seen whether this check is completed manually or automatically.

- Automatic eligibility checks: We have implemented an option to automatically check client insurance for eligibility. There are two situations where client insurance can be automatically checked if you decide to turn on this feature, by checking one or both boxes in the "settings" at the bottom right of the main client list. If these are checked (on), the insurance will automatically be checked when new insurance or a new client is added, and a day (24 hours) before a scheduled event with that client. If the verification failed, the assigned doula's (and/or team owners') email will automatically be alerted of the ineligible issue.

- Billing statuses: This new addition adds a new status to track billing in your visit log, which can be used to track billing for invoicing or claims! This status is shown and editable in your client's visit log, or main visit log on the billing page, but not in the calendar view. These can be set by the doula, and will not currently automatically change based on activities. The billing status options and general meanings are as follows:
- Unbilled→ Nothing done yet and not ready to be billed
- Ready → Ready to be billed
- Billed → Invoiced or claim sent
- Paid → Paid or payment received

#6 SMS Notifications
- Adding a text notification option: Being able to communicate with clients now just became more convenient. Doulas now have the option of their clients notifications being sent via email and SMS messages. The first phase of SMS notifications are for client notifications only, require the client to opt-in to receive the SMS messages, and is limited to US (+1) numbers at this time. The SMS messages can be customized in the Templates> Notifications>Text messages section and are the same options as email templates, such as: document sending, events scheduling, invoices, files, and other activities.

- Lead form text opt-in: New clients can opt-in to text notifications when filling out the lead form, if you'd like! To add this option in your new or current lead forms, open the lead form and select the customize button. Under the Insert field options, select SMS opt-in. That will place a checkbox on your form to allow text notifications, and then you can customize the title, make it required or not, and change the wording of the checkbox.

Regardless of the wording of this option, selecting any option will trigger the consent opt-in process, even if the wording says otherwise. We recommend only adding 1 option, which is a request to opt-in.
- Manually send SMS opt-in: For existing clients, you can send an SMS opt-in message from the menu in their profile if they'd like to start receiving the Doulado notifications via text. Please note: The client profile needs to have a US phone number added to their profile to send the opt-in.


If the client opts-in for text notifications, the client will then receive all notifications via email and text. To remove email notifications, you (or they) can remove their email from their client profile. To opt out of text notifications, they can reply STOP to any message.
The current opt-in text message reads: "Doulado can send notifications via text. Reply Y to opt-in, or N to opt-out. Message frequency varies, and message and data rates may apply."
- SMS Notification templates: In addition to customizing the email notifications being sent to clients, you can now also customize SMS notifications. To customize those templates, go to your notifications template page, and select the text messages tab. Select the template you want to edit and customize it by editing the text, and choosing which fields to include. Each inserted field is going to pull the related data in that message (ie. document name you are sending, client name you are sending to, etc.) and the "button" field will include the direct link to that item (recommended to be left in message).

- Client SMS notifications: At this time, the SMS notifications are only sent to the clients to alert them of activity within their Doulado account. The doula's can opt-in to SMS messages from their profile to "send tests" of the text message templates that the clients would receive. These tests will may not include a link like the client's message would, but the rest of the message should be the same!
The insights from our dedicated users are the compass that guides Doulado’s evolution. We’re incredibly grateful for your continued patience and feedback — it helps us build a platform that truly supports your doula business and programs. As you grow your organizations and businesses, know that we’re here, committed to creating solutions that help you thrive every step of the way.
Tasks in the works:
- Viewing team member availability
- Note formatting
- Template updates
- Bulk sending paperwork
- and more!