
Folder Organization
There is the ability to organize all of your resources and your clients files by creating folders within the template bank and client profiles.
Creating Folders for Resources
-
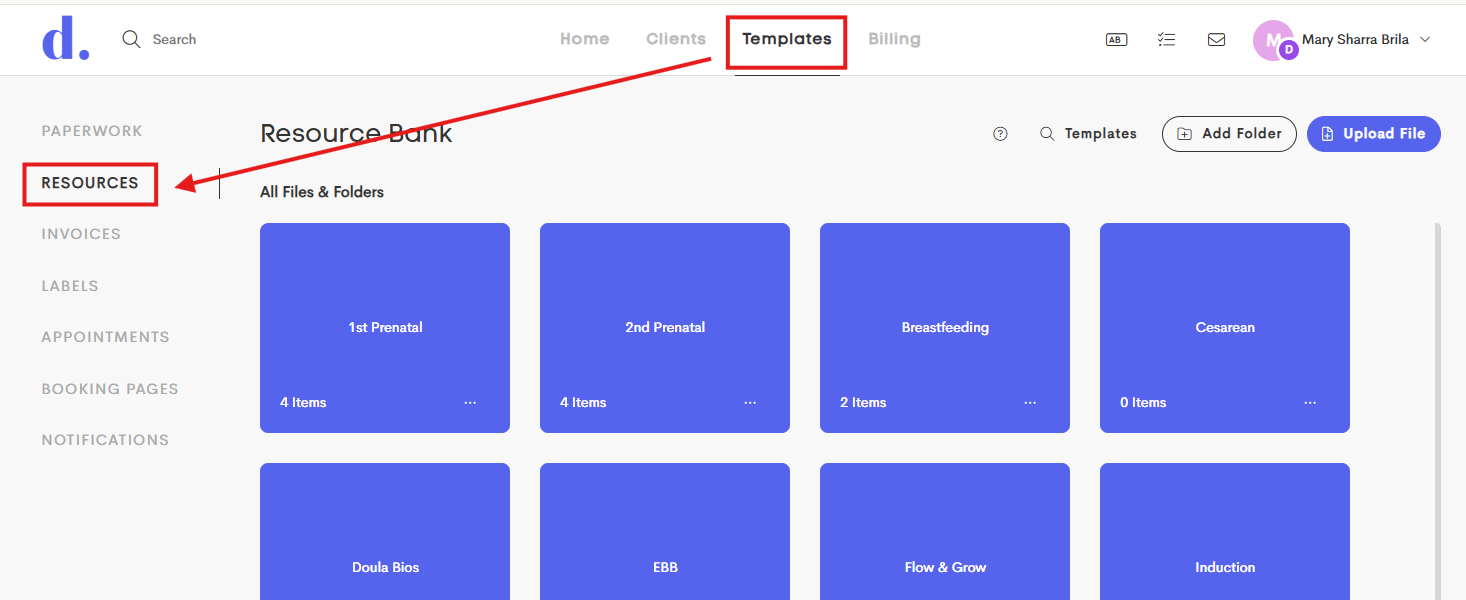
Go to the main Templates tab and click on the Resources side option.
-
Click Add Folder in the upper-right corner.

-
Enter the folder's Name and check the box if you want it to be copyrighted.
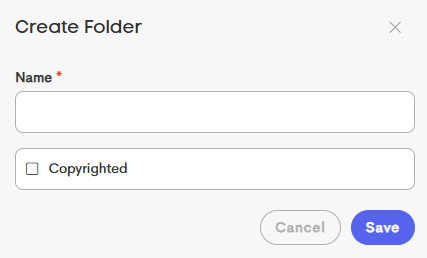
- Once you click Save, the new folder will now be added to the gallery.
-
Choose an existing document to add to this new folder. Click on the three-dot menu of that document, and select Edit.

-
From the Folder dropdown, choose the name of the new folder. You can also change the Document Name for this folder location as well.

-
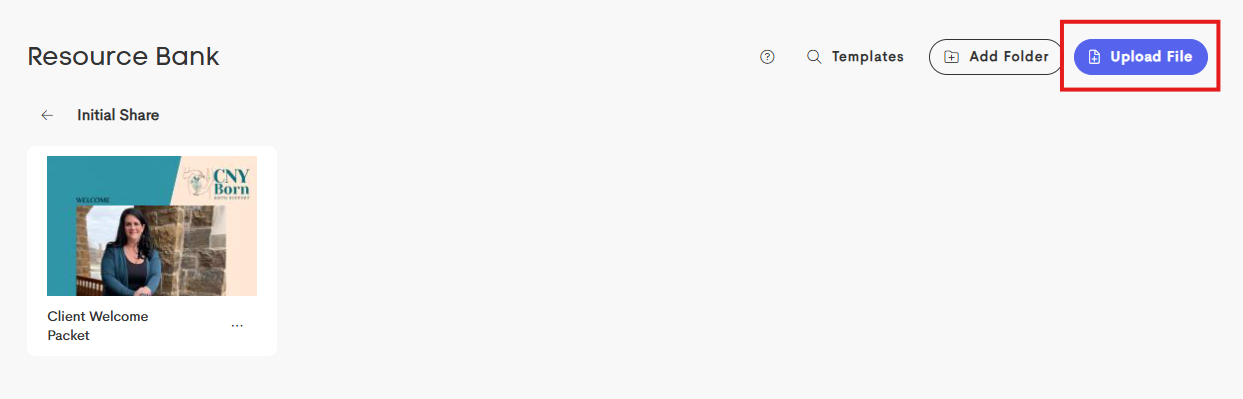
You can also upload a file within a folder. Open it and click on the Upload File button in the upper-right corner.
-
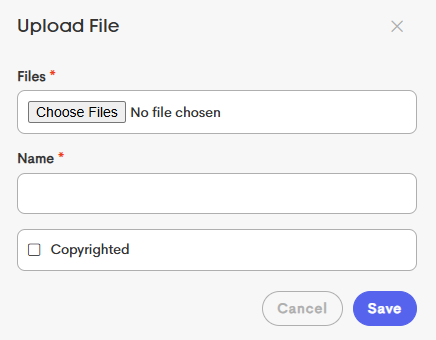
Fill out the necessary details in the Upload File modal and click Save.


Creating Folders for Client Files
-
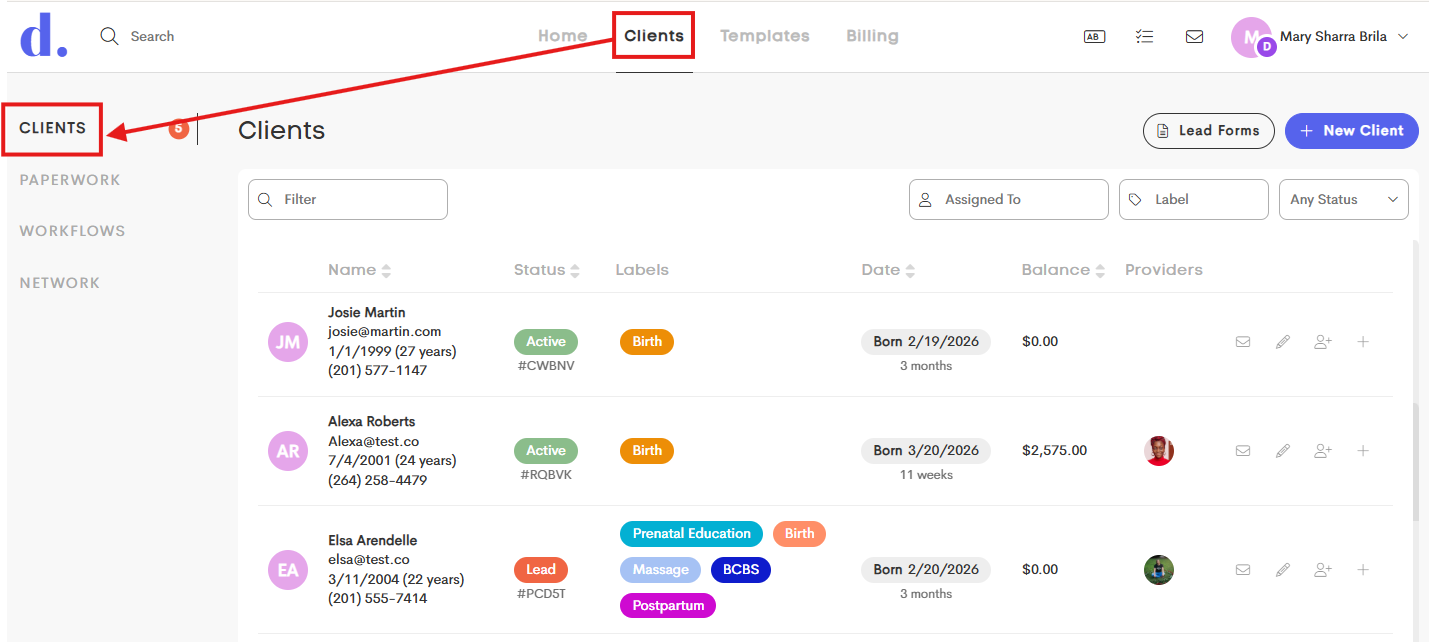
Go to the Clients List and choose a client you want to add a file folder to.
-
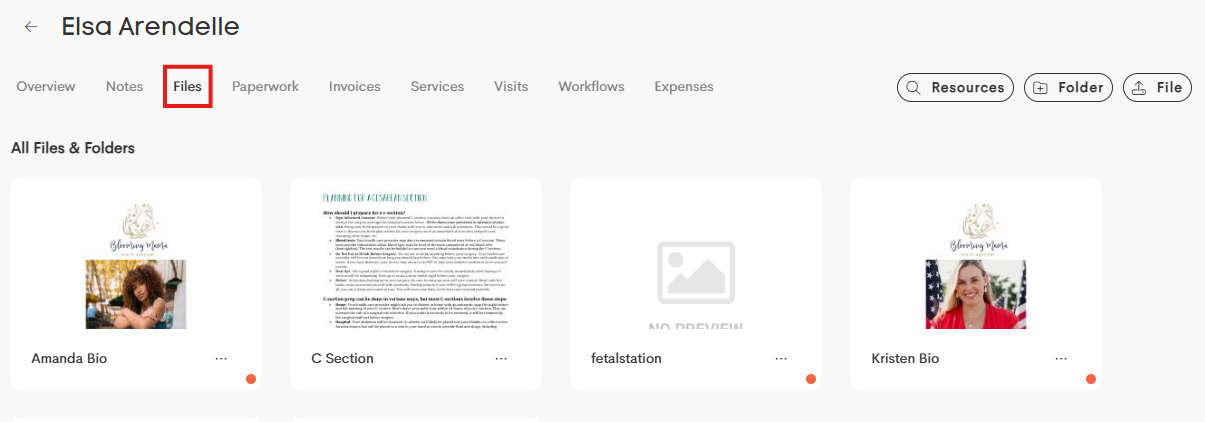
In the Client Journey, go to the Files tab.
-
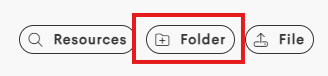
Click on the + Folder button on the upper-right corner.
-
Enter a Folder Name and check the conditional boxes that you want to apply.
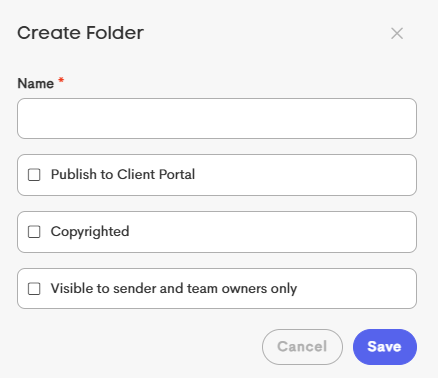
- Click Save to add this to the File Gallery.
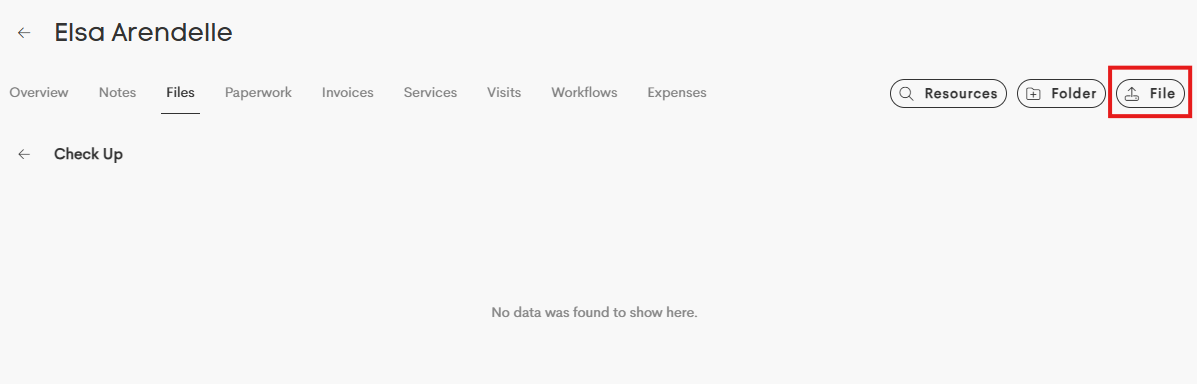
- To transfer or upload a file in the folder, click on it to open.
-
Click on the Upload File button.
-
Fill out the necessary details in the modal.
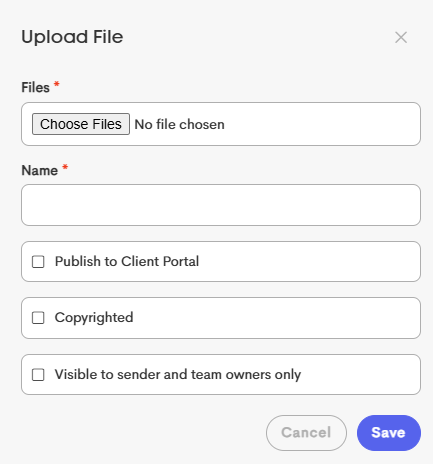
- Click Save to upload the file in the folder.


You cannot add another folder within a folder.
